Service Setup

Manage Service Setup
The first time you use the Backup and Restore Utility, you need to set up the database where the information for the scheduled backups will be stored.
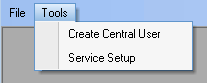
1. To open the Service Setup window go to the Tools > Service Setup menu option.
- In the Service Setup window:
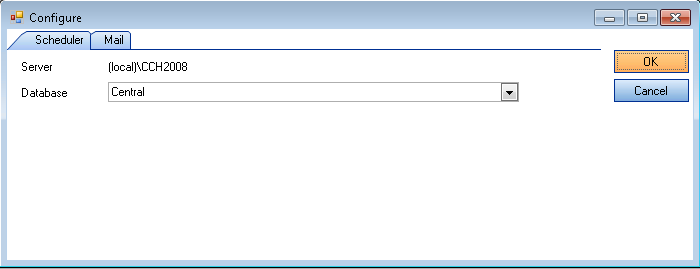
- Server - This field displays the server that was chosen at login. If this is not the server you expected please log out and log back in making sure that you choose the correct server instance.
- Database - Select the database you would like to use, to save the schedule backup information from the drop-down list. Please note that if you intend to use the homepage control to track the status of your backups; this should be the CCH Central database.
- When you are satisfied with the server and database information click OK to create the services.
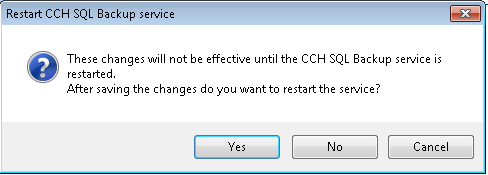
- Click Yes to proceed.
As soon as the services are created the window closes.
If you are not planning to use the CCH Central homepage control to track the status of scheduled backups, you may want to setup email alerts on the status of the backups. An email is sent only if the backup fails.
Sending Mail Alerts
- Access the Service Setup window from Tools > Service Setup menu option and select the Mail tab.
2. Select the Send mail alerts check box to enable the entry fields.
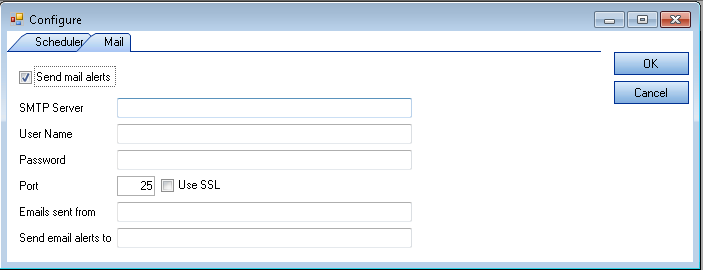
- SMTP Server – SMTP (Simple Mail Transfer Protocol) address of the mail server
- User Name - Domain name and user name used to log in to the mail system
- Password - Password used to log into the mail system
- Port – Port used by the mailing system
- Use SSL – Select if your mail system uses SSL (Secure Socket Layer)
- Email sent from – Enter a description to show in the From field in your email inbox.
- Send email alerts to – The email address of the person that should receive the alerts
3. When you are happy that all information has been entered correctly, click OK to save and close the screen.
If you want to use the homepage control to track the status of your backups it is recommended that you specify the CCH Central database.