Getting Started with CCH iFirm Validate

Setting up users to access Validate in CCH Central
Users must have Central 2024.3 as well as the .Net8 upgrades (available from the CSI).
Please note: the .Net 8 upgrades will be automatically installed as part of the CSI from version 2024.3 onwards
In Maintenance > Security > Task Permissions, the user will need to be a member of the group that allows the launching of Validate into CCH iFirm.

Setting up CCH iFirm Validate users in Organisation Management
All employees who require access to CCH iFirm Validate must first be invited by your Organisation’s CCH iFirm admin user via Organisation Management using the same email address recorded against the employee record in CCH Central.
If you require more information about how Organisation Management works in CCH iFirm, click here.
Assuming you are already in the Home screen of CCH iFirm, then Organisation Management can be accessed from the Manage my organisation button (under My services)

The Overview section in the left-hand panel should now be highlighted and either the existing Members box or the Invites box for inviting new members can be selected.

Useful Information! If the following screen displays click Start Walkthrough

Having selected a Member, you can choose either GRANT ACCESS or REVOKE ACCESS to products

If a new Member is being set up, then enter their details and you will also need to decide whether their role is as a Regular member or as an Administrator.

Then select the Product Access button and tick the boxes for which products they are being given access to.

The Invite Message shows the message that the new member will receive via email.

The Products section shows the logged in user which products they are subscribed to.

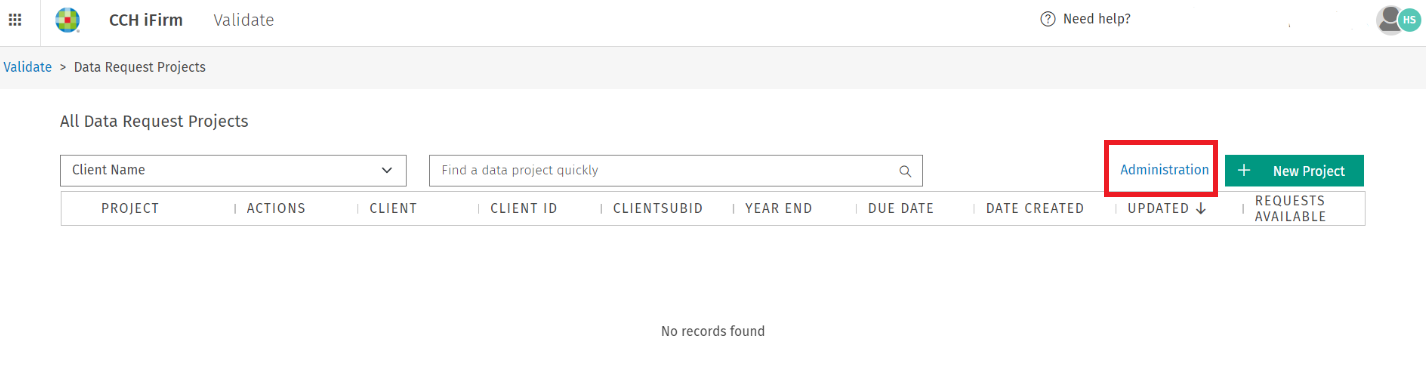
Click Validate to open

Click Administration button

The File information form displays for the first user of CCH iFirm Validate, whether that is clicking the tile on the Dashboard or accessing Validate from CCH Central.

The firm information can either be accepted by ticking checkbox below or updating the information

If you want to make use of the branding functionality to display your firm logo firstly click the Administration button

Then click the edit button and then scroll down page until you get to branding section.

By dragging and dropping the logo it will display in both the email sent to the client to approve your request and also in the CCH iFirm Validate client approver page (see screenshots below). Click the Preview logo placement button if you want to see how they will display in advance.


Within CCH iFirm the logo will also display on this page (TrueLayer is our Open Banking provider)


Caution! Please do not click the Administration button, unless you are the Administrator, as this opens up the file information form which will already have been completed as shown in the two screens above.