CCH Central Suite: Install additional Products Guide

Introduction
About this Document
The CCH Central Suite Installer (CSI) is designed to be an easy to use, comprehensive tool to carry out new software installation, software upgrades and software updates for the CCH Central Suite of products.
This document explains how to upgrade an existing install of the Central Suite by the addition of one or more of the following products:
- CCH Accounts Production
- CCH Audit Automation (SQL)
- CCH Central
- CCH CGT & Dividend Scheduling
- CCH CRM Integration
- CCH Corporation Tax
- CCH Document Management
- CCH Email Marketing
- CCH iXBRL Review and Tag
- CCH OneClick (on premise components)
- CCH Personal Tax
- CCH Portal
- CCH Practice Management
- CCH Scan
The upgrade process varies depending on which product(s) are being added. To accommodate this variance, the structure of this guide is to describe each of the CSI Navigation Tabs in the context of a product upgrade.
Each Navigation Tab is described in its own section, the beginning of which clearly states for which product it is relevant.
Each section assumes that the CSI has been started and logged on to. If the reader is not familiar with how to do this the appendices Starting the Installer and Logging onto the CCH Install Server provide full details.
Before You Begin
As with many tasks, the key to a trouble-free and successful CCH Central Suite installation is preparation, this section provides useful pre-install advice.
Install Hints & Tips
- Ensure that all users are logged out of the CCH Central Suite.
- Read through this guide thoroughly and ensure you understand the procedure it describes.
- Some of the sections will not be relevant to your installation, this being dependant on the CCH Central Suite products for which you are licensed. Go through the guide and clearly mark the sections that you will need to follow.
- Check that the existing CCH Central Suite installation is working and without errors before you begin your upgrade. If any problems are present these should be corrected before proceeding with your upgrade.
- All upgrades must be run on the file server or computer to which they apply. Before proceeding be sure to identify the computer(s) or server(s) that hold your CCH Central Suite programs and CCH Central Suite database.
- You must be logged on to the computer / server with an Administrator account.
- Check that your computers and servers meet our minimum hardware requirements. This information is available in Knowledge on our Support Portal.
Backups
As with any software upgrade please ensure you have current, valid backups of the following:
- CCH Central SQL database, including the Document database where this is present.
- CCH Central Suite program folder (by convention named Deploy).
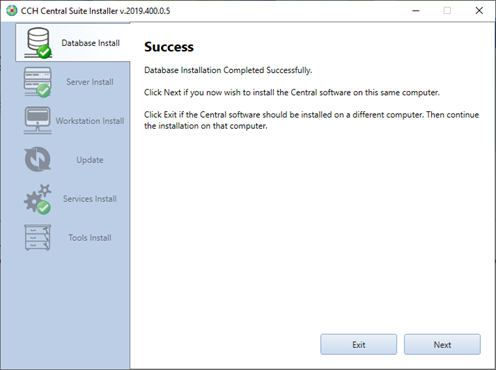
Database Install - navigation tab
This section needs to be completed if you do not already have a Document database as a part of your CCH Central Suite installation.
The Database Install must be carried out on the server / computer that runs the copy of Microsoft SQL server hosting your Central database.
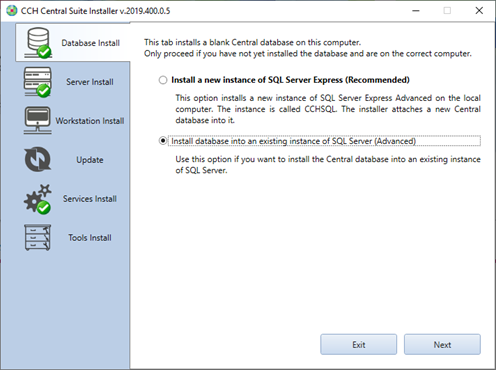
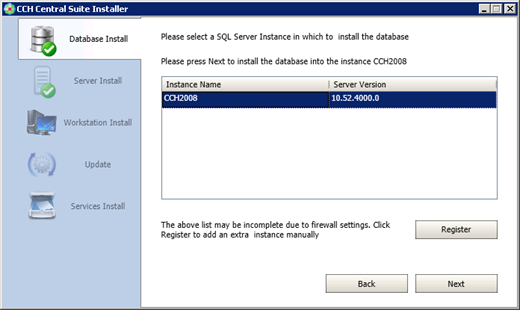
- Click the Database Install Navigation Tab.
- Select Install database into an existing instance of SQL Server.
- Click Next.
There will be a short delay while the local SQL Server instance is detected.
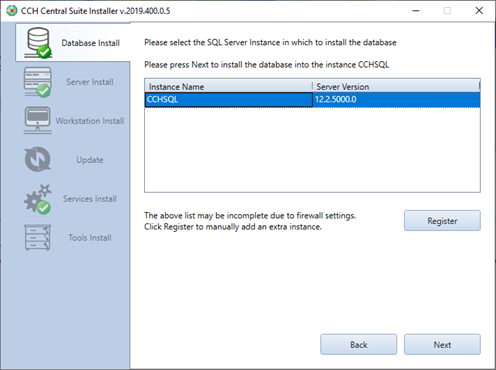
- Select CCH2008 or CCHSQL as the Instance Name, only 1 of these will be present.
- Click Next.
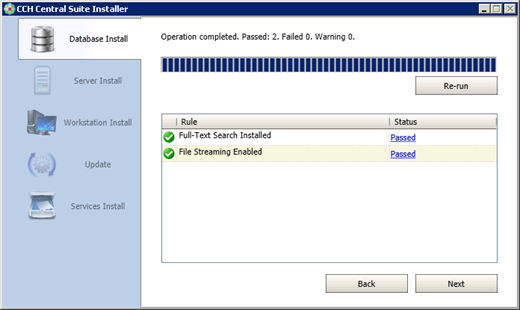
- Click Next.
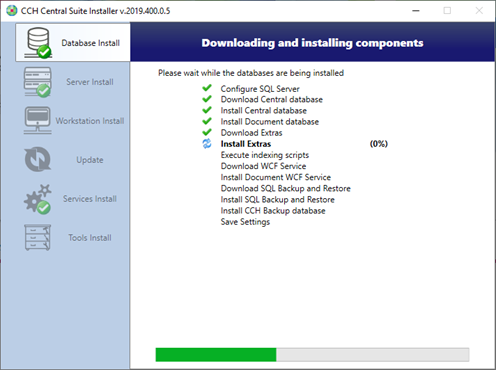
Note: During the Database Install a Reboot Required may be requested. If a reboot is requested refer to the appendix Reboot Required for further direction.
-
Click Next to continue.
Update - navigation tab
This section needs to be completed regardless of which product(s) you are adding to the CCH Central Suite.
The update must be carried out on the server / computer that holds your CCH Central Suite programs (by convention held in a folder called Deploy).
New products may only be added if the installed version of CCH Central Suite is the latest release, therefore it may be necessary to run the Install Update function twice. The CSI will automatically determine if an update is due when the Check for Update button is clicked, the decision being based on the currently installed CCH Central Suite version and the products being installed.
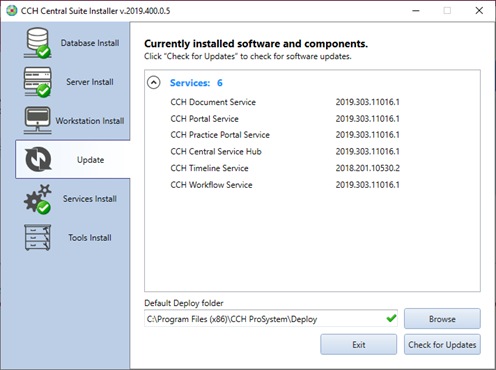
- Click the Update Navigation Tab.
- Click Check for Updates.
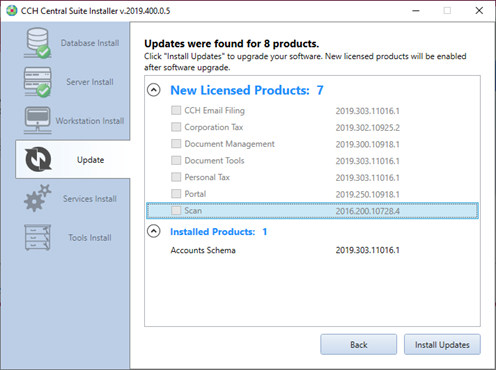
NOTE: New licensed products available for install are shown in the top half of the window under the heading New Licensed Products with tick boxes to select each product. If these tick boxes are not active (greyed out) and one or more products or modules are shown under the heading Installed Products then an update is due and it will be necessary to run the Install Updates feature twice. In the example above this is the case with an update due to the Accounts Schema.
If the product tick boxes are not active, as shown in the image above, proceed as follows:
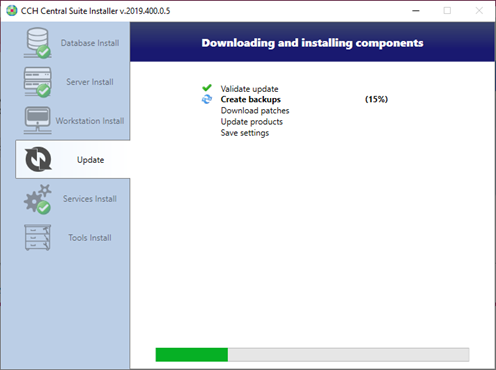
- Click Install Updates.
- Click Exit and answer Yes to the question Are you sure you want to exit?
- Log back into the CSI
- Click the Update tab.
- Click Check for Updates
- Click Install Updates
Installation of the new licensed products will now begin.
If the product tick boxes are active, as shown in the image below, proceed as follows:
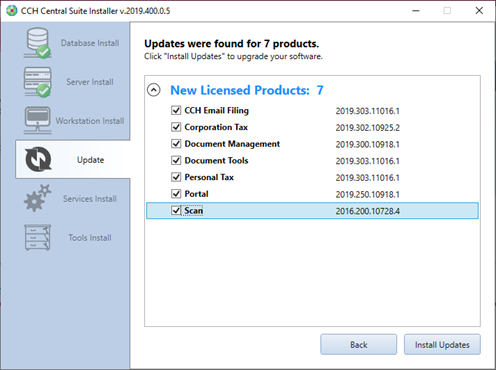
- Place a tick against each product that you wish to install.
- Click Install Updates.
Note: If Audit Automation is to be installed, it is also necessary to update the licence file as described in section J – Audit Automation Licence
Installation of the new licensed products will now begin.
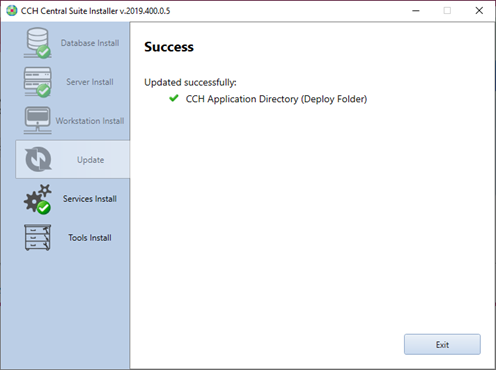
- Click Exit and answer Yes to the question Are you sure you want to exit?
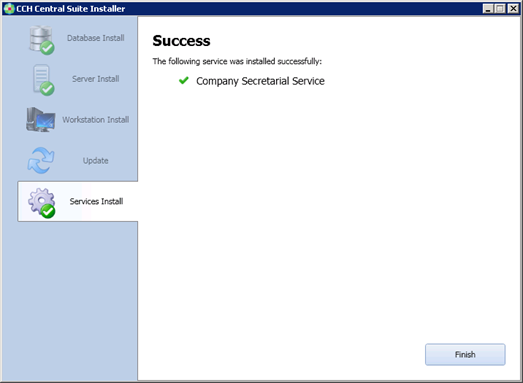
Services Install - navigation tab
This section needs to be completed regardless of which product(s) you are adding to the Central Suite.
The Services Install must be carried out on the server / computer that is to run your CCH Central Suite services, by convention this is usually the same server / computer that holds the Central database.
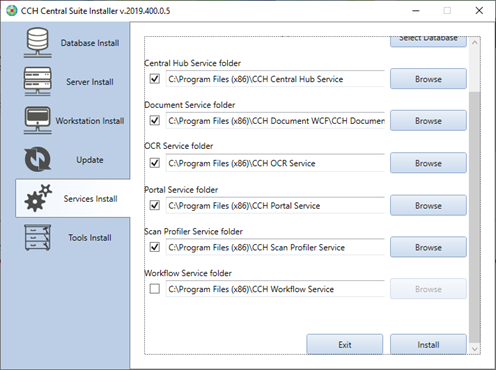
- Click the Services Install navigation tab.
The Services Install navigation Tab will offer a list of services depending on the licensed products. the Workflow Service which is an integral part of Central.
- Tick all services offered except the CCH Workflow Service.
- Click Install.
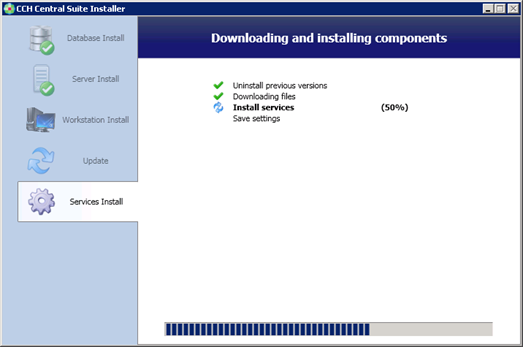
If the CCH Central Suite upgrade includes Autofill and the OCR Service an additional check box for the OCR Abbyy Licence Manager will appear.
- Click Finish and answer Yes to the question Are you sure you want to exit?
Database Upgrade
An automatic database upgrade will be required. This upgrade runs as a result of the first login following the CCH Central Suite update.
- Start CCH Central Suite and login as a superuser.
- Click Yes to continue with the database update.
- Click Yes to accept the recommended database backup.
- Click Yes to Confirm Script Execution and continue with the database upgrade.

During the upgrade, the application that is being upgraded is displayed with a and a progress percentage, once the application has reached 100% one of the following symbols is returned:
- Upgrade was successful

- Upgrade failed

- Upgrade was successful but has script errors

Where no errors are detected, the success icon is returned.
Note: if script errors  or upgrade failed
  are reported please contact us at CCH Software Support to investigate the matter.
Updating Your Licence Pin
This section needs to be completed regardless of which product you are adding to the CCH Central Suite.
Your existing CCH Central Suite licence pin must now be updated to reflect the newly installed product and activate the additional functionality. This section describes how to carry out the licence pin update.
Begin from the CCH Central Suite Home Page, logged in as Superuser.
- From the top menu bar select the File tab.
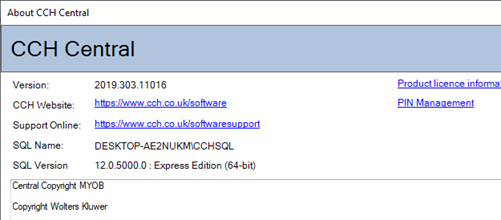
- From the left menu bar select Help and then click on About.
The About CCH Central window will appear.
- Click Pin Management.
The Pin Management window will appear.
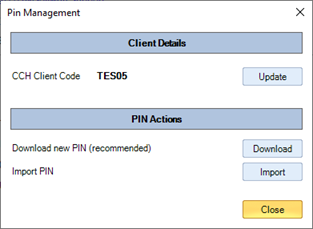
- Click Update.
- Click Yes to the Warning Changing the client code will lead to removing current pins.
The Enter CCH Client Details window will appear.
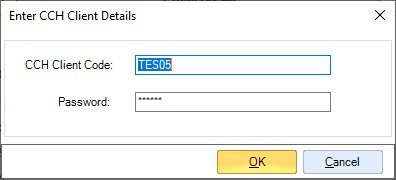
- Enter your own CCH Client Code and Password, overwriting the temporary licence pin details. These details should be entered in uppercase.
- Click OK.
The PIN Management tab will reappear.
- Click Download.
The pin update takes only a few moments, when complete the Licensing window below will appear.
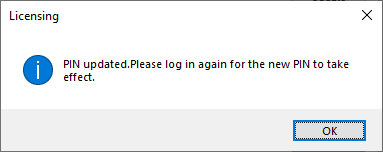
- Click OK.
- Close CCH Central Suite and log back in.
- Your licence update is complete.
Completion
After completing the upgrade to your Central Suite, it is worth spending a few moments to check your work. To do this, proceed as follows:
- From the top menu bar select the File tab.
- From the left menu bar select Help and then click on About.
The About CCH Central window will appear.
- From the About CCH Central Window click Product licence information button to arrive at the Central Licensed Products Window shown below.
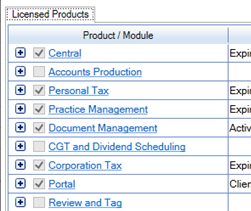
- Look under the Product / Module heading to confirm the products that have been added to your Central Suite.
Your Central Suite server upgrade is now complete.
Workstation - navigation tab
This section needs to be completed under the following circumstances:
- If you have installed CCH Accounts Production or CCH Corporation Tax.
- Neither CCH Accounts Production nor CCH Corporation Tax have previously been installed.
- You wish to use the Travel function on laptop computers.
It should be carried out on each laptop computer on which Travel is to be used.
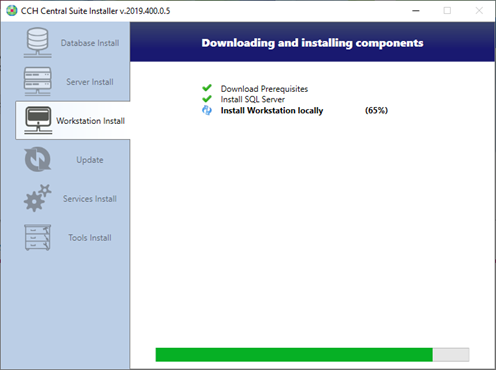
- Click the Workstation Install navigation tab.
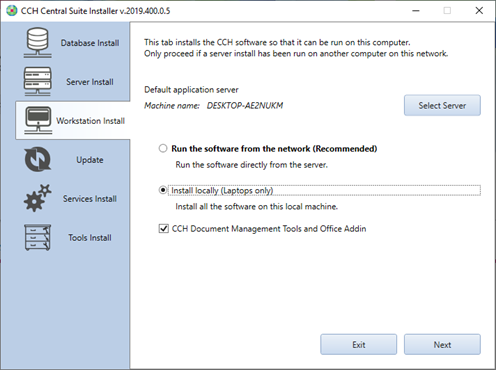
- Set the radio button for Install locally (Laptops only).
- Tick all offered products., in the example above this is just CCH Document Management Tools and Office.
- Click Next.
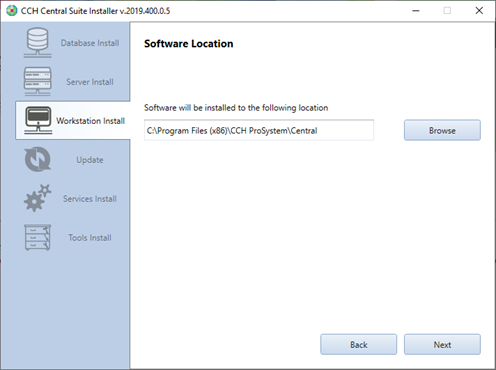
-
Click Next.

- Click Next.
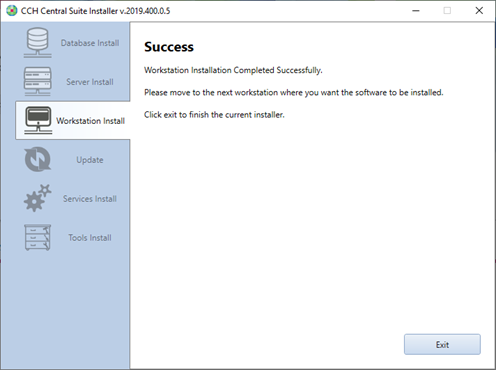
- Click Exit.
- Double-click the desktop shortcut to start the CCH Central Suite.
The first time CCH Central Suite is started after the install the Central Loader window will briefly appear.
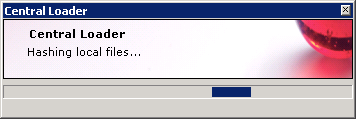
Your Travel laptop installation is now complete. Carry out the same installation on any other laptops that require the software.
Audit Automation Licence
This section needs to be completed if you are adding Audit Automation (SQL).
If Audit Automation (SQL) has been installed a new icon will appear on the desktop. The first time that Audit Automation is started it will be necessary to update the licence file specifically for this product.
- Click on the CCH Audit Automation desktop icon.
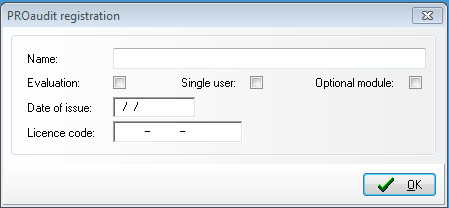
- Enter the licence details as supplied from the CCH Client Care team.
- Click OK.
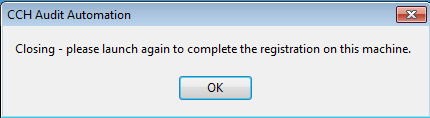
- Click OK.
Appendices
Starting the Installer
CTRL + Click this link to go to the CCH Support Portal
- Logon to the Support Portal.
The Support Portal home page will refresh to include the Software Releases tile.
- Click the Software Releases tile.
- Click the CCH Central Suite tile
- Click the green Go to the Central Suite Installer button in the bottom right-hand corner of the window.
- Run the setup.exe that appears in the bottom left-hand corner of the window.
The CSI Home page will appear as shown in the image below.
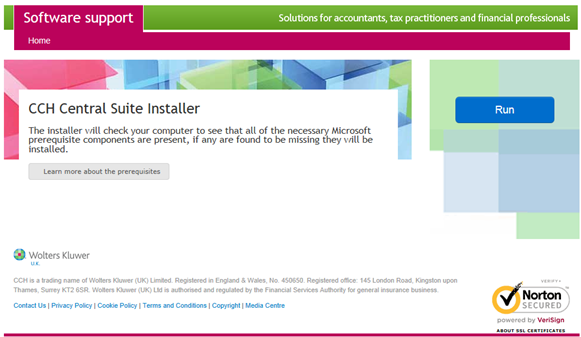
- Click Run.
Depending on the local security settings and the components that need to be installed, file security warnings and Microsoft licence messages may appear, an example of which is shown in the image below.

- Click Run to any security warnings and Accept to any Microsoft licence messages.
Warning: This part of the installation can take from 1 to 60 minutes to complete depending on Microsoft Windows components (prerequisites) that need to be installed. Please be patient and do not restart the computer!
A reboot may be requested, as described below.
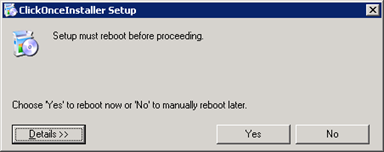
- After checking that no other users are connected to the server, click Yes
Note: If a reboot is required, the CSI should automatically restart. If it does not, then to continue it will be necessary to log back on to the Support website, return to the CSI install page and click the Run button.
Logging on to the CCH Install Server
This part of the Central Suite Installer (CSI) asks you to logon to the CCH Install Server. Your Client code and password are the same as those used to register on our Support Portal. If you do not know or can’t find these details please contact CCH Software Support, who will be able to supply them.
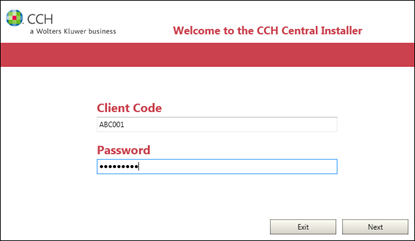
- Enter your Client Code and Password.
- Click Next.
If this is the first time the CCH Central Installer has been used the window below will appear.
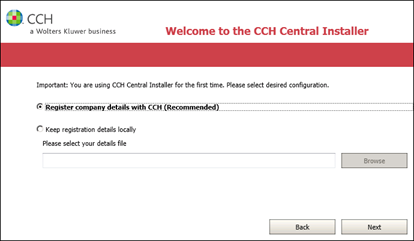
- Select the recommended option, Register company details with CCH
- Click Next.
Reboot Required
During the database install a Reboot Required may be requested. This will depend on whether it is necessary to install a new instance of Microsoft SQL Server 20142 and on the particular configuration of your computer / server.
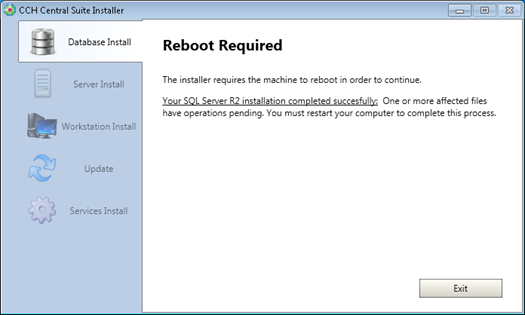
If this is requested proceed as follows:
- Close the CSI and restart your computer / server, taking care to ensure that any users sharing the computer / server are logged off.
- Logon to your computer / server.
- Start the CSI as described in the appendix Starting the Installer.
- Login to the CSI as described in appendix Logging on to the CCH Install Server.
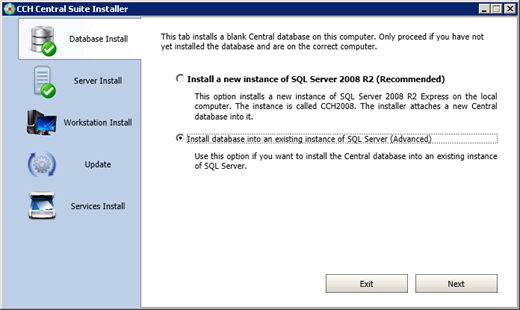
- Click the Database Install Navigation Tab.
- Select Install database into an existing instance of SQL Server.
- Click Next.
There will be a short delay while the local SQL Serve instance is detected.
- Select CCH2008 as the Instance Name.
- Click Next.
- Click Next.
Installation of the database will now continue.
- Return and continue with the upgrade.