Adding Borders to an Item

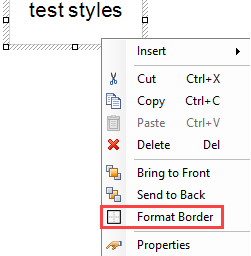
Useful Information! Borders can be used to apply formatting through a report, although most commonly they are used to apply Subtotal and Total indicators to totalled values within a report. Borders are applied to an item in the Report Designer window. To apply or edit borders, click on an item in the detail area of the Report Designer window, then right–click to access the menu. The Format Border option is then available.
Add Borders to an Item
-
Open the Report Designer page for the report you want to edit.
-
Right-click a text box in the design area and select Format Border from the menu. The Format Border window displays.
-
Click on a Line Style to select it.
-
Click the colour list to select from the Custom, Web or System palette tab.
-
Click a colour to select it.
-
Click anywhere between the cross markers in the Preview area to apply the border to that area.
-
Make additional selections to apply additional borders.
-
Click on OK to apply the borders to the report.
Note: You can make use of the preset options instead of individually selecting and applying line styles if you prefer.