Master Pack Index

A File Index can be defined for the master pack and can include the following items:
- Menu options
- Documents based on their own associated templates
- Documents based on master templates
- Checklists
- Perennial Checklists
- Work programmes
- Background information
- Key business processes
- Permanent file standard document
You are free to define a folder structure to hold the options you add and there is no limit on the depth of folders that you can show. When an index has been defined, this will appear in the navigation panel for the master pack, otherwise the system will display the pack menu in this area.
To create or edit the menu structure, load the master pack for editing and select the Main index option from the Master options list. The Main index dialog will be displayed.
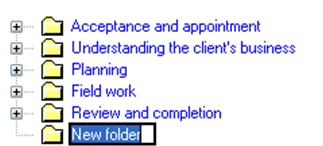
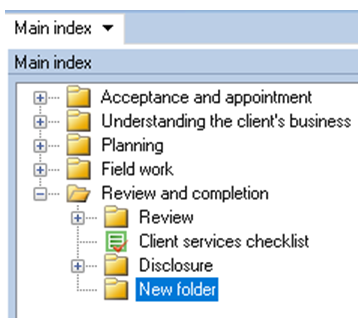
Main index dialog
- To add a new menu item, click on the [Add] button. A new folder will appear in the list with the default name of “New folder” and it will be selected for editing. Change the default “New folder” name to the required name.
- To add further items at the same level as the item selected, and at the end of the list, click on [Add]. To insert a new folder at the same position as the selected item, click on [Insert]. To add a sub item to the selected item, click on [Add sub item]. As you add items, they will appear with folder icons.
- To edit the text of an item, select it, pause and then click on it again, or click on [Edit].
- To remove an item, select it and click on [Delete].
These options are also available from a popup menu.
Any item that contains other items becomes a folder and you cannot associate actions with folders. Any leaf item, i.e. one that does not contain sub items, should be associated with an action. If you do not associate a leaf item with an action, it will be displayed with a “?” icon.
Associating an Item with an Action
To associate an item with an action, select the item and click on [Action]. A popup menu will appear and the following actions are listed:
- Run a Audit Automation routine
- Based on a document
- Based on a template
- Link to a checklist
- Link to a perennial checklist
- Link to a programme
- Background information
- Key business process
- Link to a permanent file document
These actions are defined as follows:
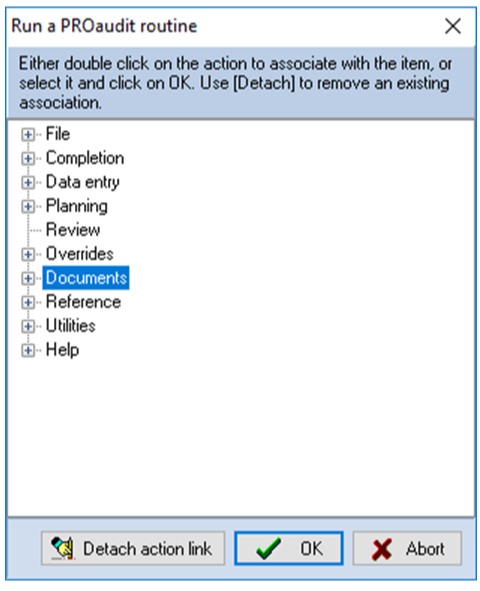
Run an Audit Automation routine
On selecting the option, the following dialog will be displayed:
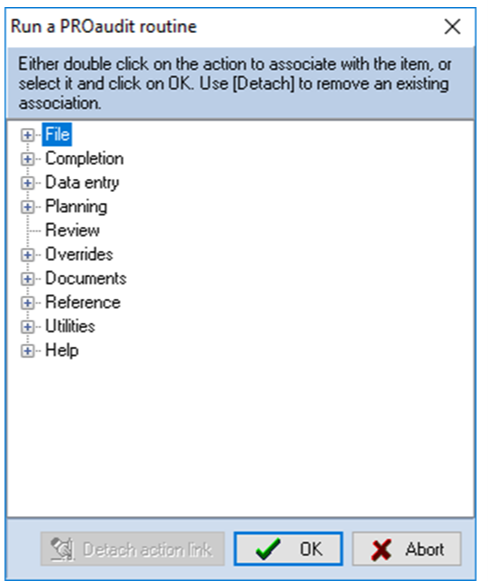
Run an Audit Automation routine dialog
Click on the “+” sign to open menu headings and double click on a menu option to associate the routine with the item, or click on it and then on [OK]. The dialog will close and the associated menu icon, if there is one, will be displayed next to the item.
Based on a document
On selecting this option, the following dialog will be displayed:
Document template dialog
Enter a name for the file and select the program to be used to create it. Click on [OK] and Word, Excel or the internal word processor will be displayed for you to create the template to be used for the document. Create the template using the standard Audit Automation merge facilities.
Based on a template
On selecting this option, the following dialog will be displayed:

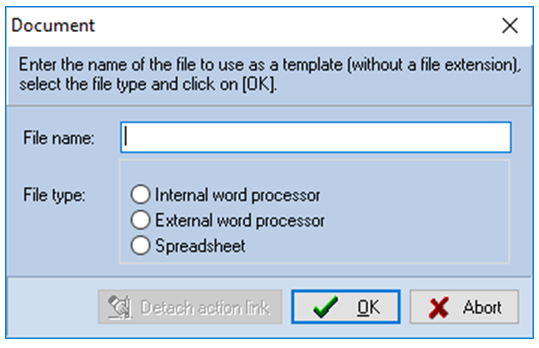
Master template dialog
- Enter the name of the file to be used to create the document in the client data. Just enter the name, do not enter an extension as this will be supplied by the system.
- Select the master template to be used and click on [OK].
Link to a checklist
On selecting this option, the following dialog will be displayed:

Link to a checklist dialog
Any file area that contains a checklist will be displayed with a “+” sign by it. Click on the “+” sign to the left of the area and double click on a checklist to associate it with the item, or select it and click on [OK]. The dialog will close and the checklist icon will be displayed by the item.
Link to a perennial checklist
On selecting this option, the following dialog will be displayed:
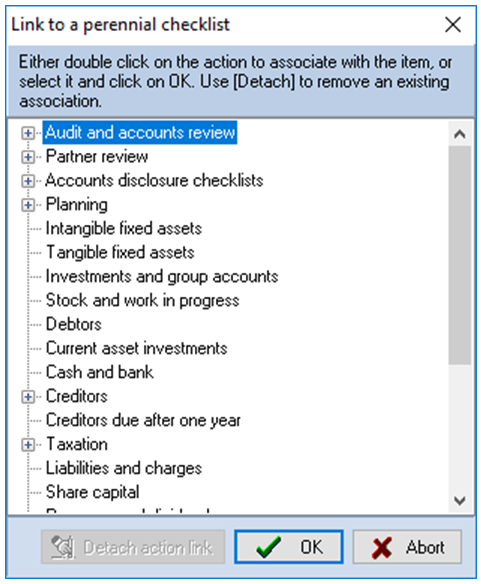
Link to a perennial checklist dialog
Any file area that contains a perennial checklist will be displayed with a “+” sign by it. Click on the “+” sign to the left of the area and double click on a checklist to associate it with the item, or select it and click on [OK]. The dialog will close and the checklist icon will be displayed by the item.
Link to programme
On selecting this option, the following dialog will be displayed:
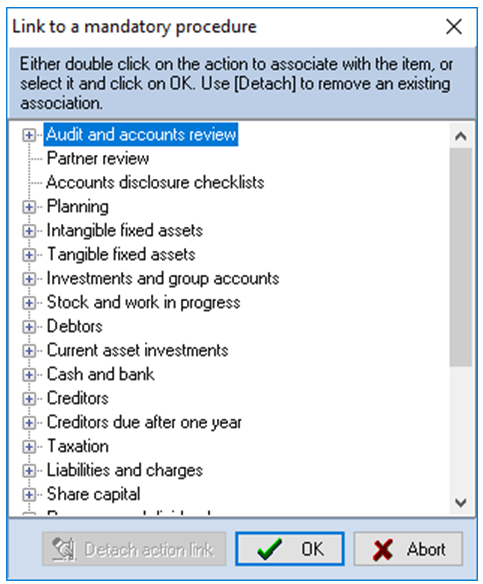
Link to a programme dialog
Any file area that contains a programme will be displayed with a “+” sign by it. Click on the “+” sign to the left of the area and double click on a programme to associate it with the item, or select it and click on [OK]. The dialog will close and the programme icon will be displayed by the item.
Background information
On selecting this option, the following dialog will be displayed:
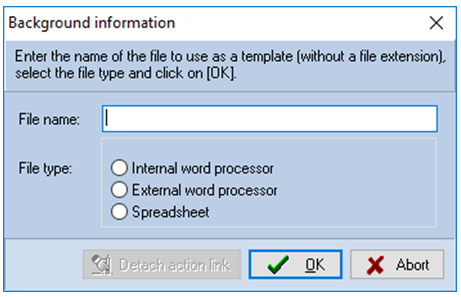
Background information dialog
Enter a name for the file and select the program to be used to create it. Click on [OK] and Word, Excel or the internal word processor will be displayed for you to create the template to be used for the document. Create the template using the standard Audit Automation merge facilities.
Key business process
On selecting this option, the following dialog will be displayed:
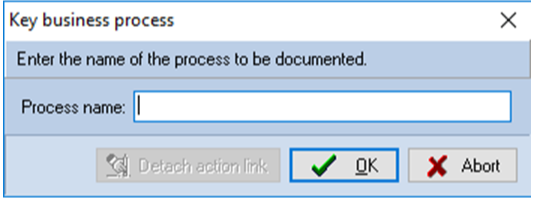
Key business process dialog
Enter the name of the process to be documented. Note that all process names must be unique or you will simply create multiple menu items that link to the same process.
Link to a permanent file document
If a link is created to a permanent file document, the user is able to create and edit the document, or evidence review from either the main index or the permanent file.
On selecting this option, the following dialog will be displayed:
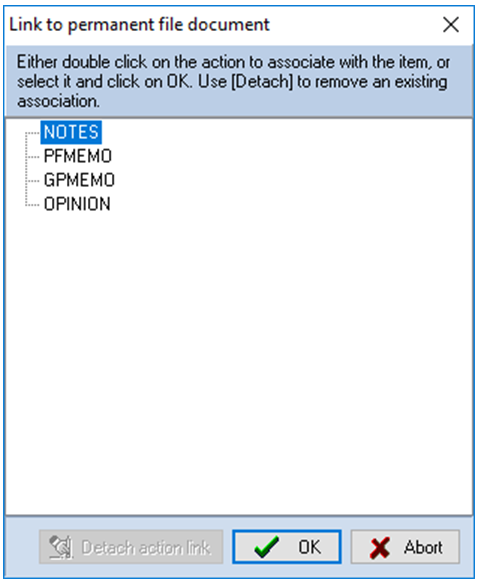
Link to permanent file document dialog
This dialog lists all of the documents that have been identified on the standard documents in the permanent file for the master pack (see page 34).
Double click on the standard document you wish to include in the main index.
Display of action link
Once the menu has been created and items linked to actions, details of the action are displayed when the item is selected in the menu structure, as can be seen from the following screen shot:
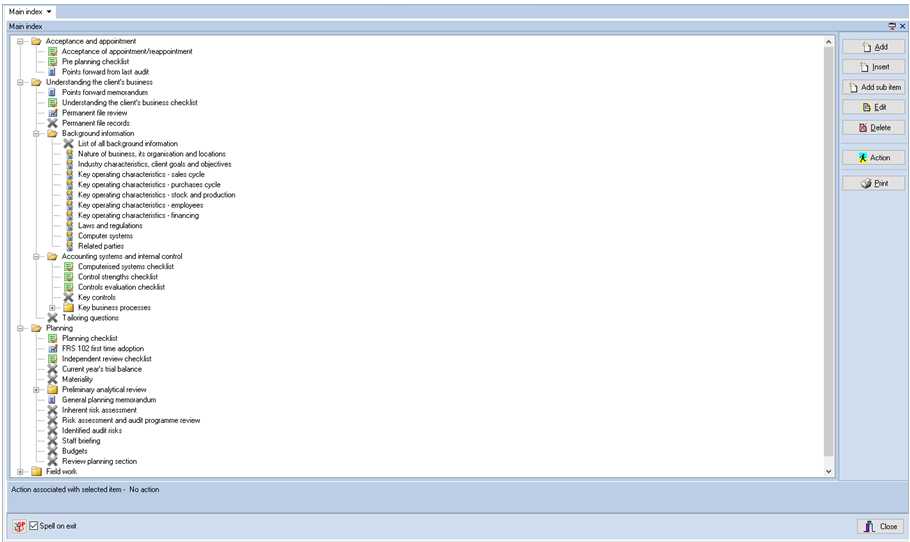
Main index dialog displaying links
Editing an action
To edit an action, select the item and click on the [Action] button. The appropriate dialog will be displayed for you to edit the details.
Changing an action type
To change an action type, you must first detach the current action and then attach a new action.
To detach an action, select the item and click on the [Action] button. The appropriate dialog will be displayed and the [Detach action link] button will be active.
Link to a checklist dialog
Click on this and the dialog will close, the association removed and the folder icon displayed by the index entry.
Main index dialog showing a detached action
You may now select the item and click on [Action] again to associate it with a new action.