Master Packs

If you access the master packs by selecting the Master Packs Tab from the interface.
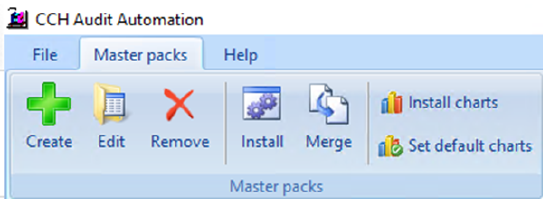
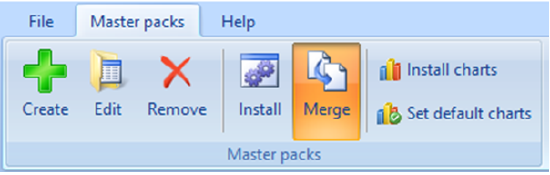
This menu provides the options to creating, edit delete, install, merge and set default chart in the master audit packs. Only the System Manager is allowed access to these options and they appear inactive to other users.
- CCH Audit Automation has been designed to let the user have complete control over the contents of the audit pack produced for each client. The audit pack consists of:
- Fixed sections (reports programmed into the computer that cannot be altered - these appear in the planning section and the trial balance).
- Dividers
- Working papers (the audit pack lead schedules)
- Audit programmes
- Checklists
The last four items in the list are produced by reference to the information and formats stored in the master pack, and also any customisation to the audit programmes carried out for the client.
CCH Audit Automation can record any number of master audit packs. Each pack is allocated a unique code and version by which it is identified and contains the following data:
- Control data
- Install custom charts
- Nominal ledger
· Charts
· Nominal accounts - Classifications
- Audit area data
· Control data
· Specific risk questions
· Control risk questions
· Audit programmes
· Checklists
· Lead schedules (Working paper formats)
· Working paper index
· Objectives
· Conclusions
· Default conclusions
· Information links
· Current file template - Risk Model data
· inherent risk questions
· specific risk questions
· proprietorial control environment
· look up tables, including sample size matrix and charge rates
· audit assertions
· pool of audit tests
· default identified risks - Materiality
- Variable definition
- Equation editor
- Master graphs
- Templates
- Word processor
- Tailoring Questions
- Information Links
- Main index
- Predefined logic test
- Status documents
When a client is created, the user indicates which master audit pack is to be used. The client is then linked to this pack, and a copy of the classifications, chart of accounts and equations are made in the client’s data set. By each data set holding its own chart of accounts and equations, the user may customise them for each client. Accounts may be added or deleted, and alpha codes included to match with the client’s own accounting system, without affecting the master chart of accounts or the chart stored for other clients. Similarly, client specific equations may be created without affecting the master list of equations or those stored in any other client.
By linking the client to the master in this way, the data set is kept as small as possible, and any changes made to the master pack will affect all clients linked to it. It is also possible, at any time after a client has been created, to change the master pack it is using. For example, if you had two masters, for small and medium companies, a client could be created using the small master and if the client grew it can be switched to the medium master pack. However, you will appreciate that the questions included in the various sections may be different, so it is important that you go through and check the answers.
It is also sensible to keep the charts of account as similar as possible, as the working papers are drawn from the data stored within each client.
Installing a Master Pack
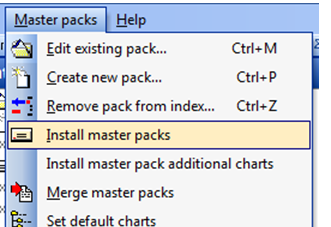
To install the master packs you need to run the routine that will add them to your database. Select Master Packs > Install master packs.
You will see a list of master packs that will correspond to the methodology you selected during the software installation.
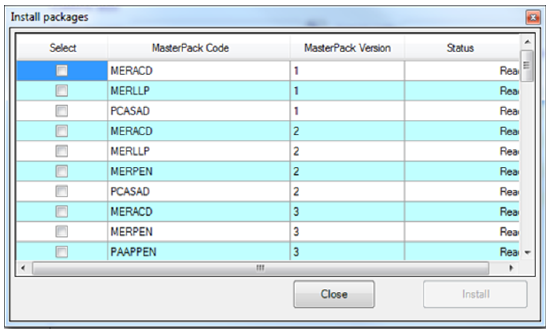
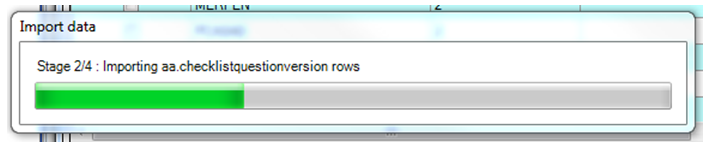
Tick all the packs you wish to install and then click Install. You will see progress messages as the packs are inserted into your database.
When the pack have been installed click Close to close the Install packages dialog.
Creating new version of existing Master Pack (Not Using Merge Routine)
To create a new version of an existing master pack (i.e. not not making a copy of a master pack from a previous release), select the Create function. Select the base master pack from the drop down. The code, version and name will be populated automatically click on [OK] and the system will create the pack and add it to the index before returning to the Main window.
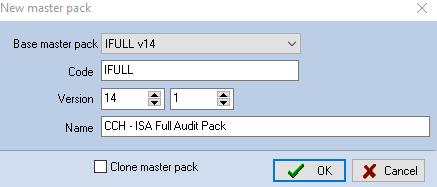
If the requirement is to create a completely new master pack not based on an existing one please contact CCH. Do not use the clone master pack checkbox.
Creating new version of existing Master Pack Using the Merge Routine
To use the Merge Routine select the Merge function from the Master packs tab.
The criteria of when a master pack can use the master pack merge routine have been updated so that it is now no longer possible to skip master pack versions when using the merge routine.
|
Master Pack |
Version |
|
|
IFULL |
12 |
|
|
IFULL |
12.001 |
|
|
IFULL |
13 |
|
|
IFULL |
14 |
|
|
IFULL |
14.001 |
It will no longer be possible to use the merge routine to create a new master pack based on 14.001 as the 13.001 master pack was not created. If the merge routine is not required a new version 14.001 can be created and updated as required without using the merge routine |
In the above scenario to use the merge routine master pack 14 should be removed and then the merge routine can be used to create version 13.001 before creating 14.001.
Editing an existing Master Pack
To edit an existing master pack, select the Edit existing pack function.
The system will invite you to enter the code of the pack to be edited - enter the code, or select it from the [Pick] list. The Master pack areas are listed as the master options in the navigation panel.
Note: the master versions of the master pack cannot be edited, a new version of the master pack should first be created.
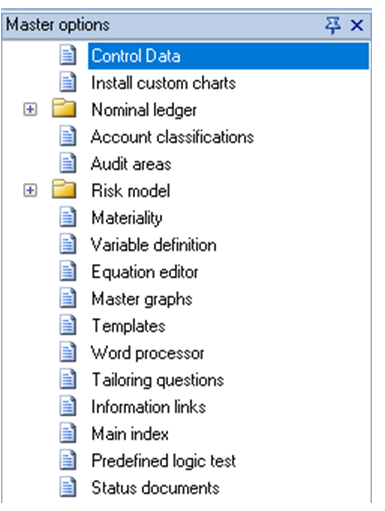
Master options list
You should click on the name of an area in the Master options to view or amend the details. The tree is hierarchical so some tree options are headings that group together a number of related options e.g. Nominal Ledger and Risk Model.
- To open the group, double click on the folder icon. To close the group, double click on the open folder icon.
- Selecting the options from this area will result in the associated windows and dialogs appearing in the work area, and being listed in the open documents panel.
- Details of how to edit each audit area and the information required by each is set out in the following sections.
Merging Master Packs
This option is available from the Master packs menu when logged in as the system administrator.
This routine is for clients who have made practice level changes to the standard master packs. When a new master pack update is release you will be able to compare the changes you have made against the updates in the new master pack.
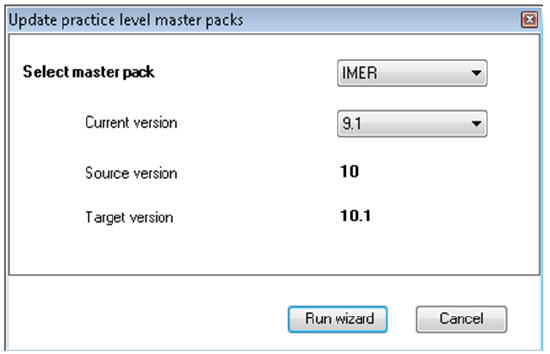
Select the master pack you wish to merge along with the current version. The software will identify the Source and target version and select Run Wizard.
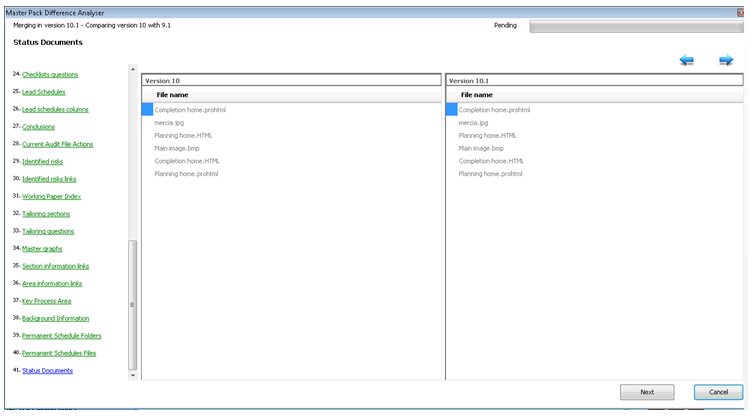
The system will show the master pack areas and will identify any differences between the practice and new master pack. When the system finds a conflict you will have the option to either keep the local change or keep the update.
Note: We have fixed as issue whereby if updates had been made to the checklists, when using the merge routine to merge changes into the next version of the local master pack the order index was duplicated in the database. This was causing the checklists to display the questions in a different order when viewing the checklists. This issue has now been fixed.
Set default charts for a Master Pack
It is possible to set the default choice when creating a new client. To do this select the Set default charts option from the master pack menu.
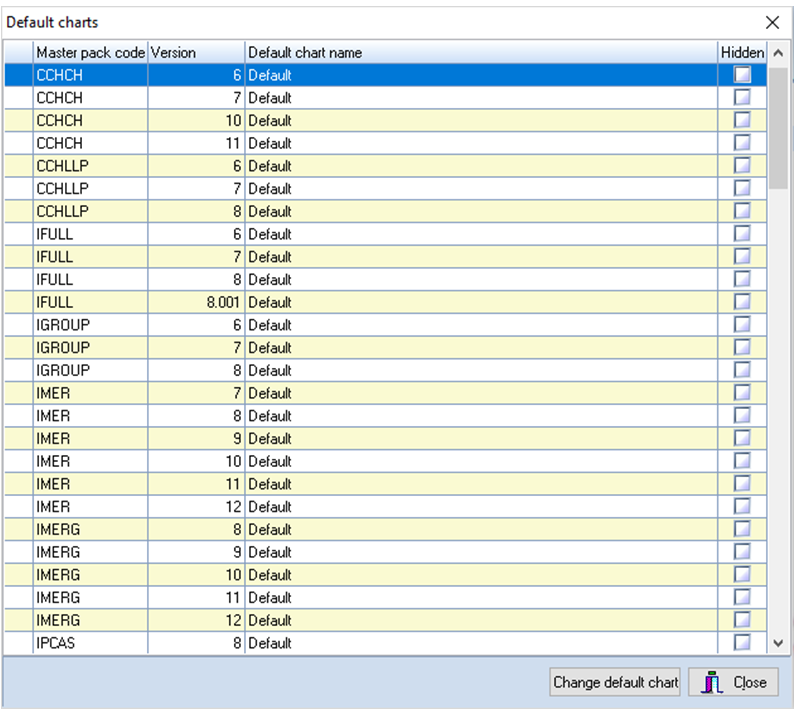
Highlight the master pack to edit and click on Change default chart.
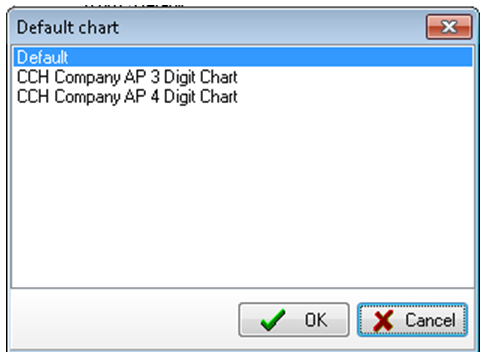
Select the default chart and click on OK.
When a new client is created the correct chart of account will be selected by default.
When selecting the checkbox in the Hidden column against a master pack the master pack will no longer be visible to users when creating new clients or updating the master pack from an existing client.
Closing a Master Pack
To close a master pack, click on the  in the Master options header bar.