Joining guidance for delegates using Webex

Before joining
Note: If you are working away from the office, or need to use a remote connection to access work resources and systems, or use hosted desktops or remote servers, then you should connect to the online meeting session using a web browser on your local computer or device before connecting to your remote session.
Joining and Audio
- Click on the meeting invite link in the email received from your Wolters Kluwer consultant.
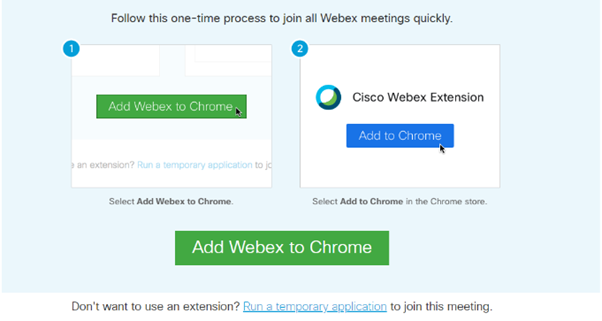
- If using Chrome, you may see the following screen shot; you have the choice to click on a hyperlink to choose to “Run a temporary application” if you do not wish to download.
-
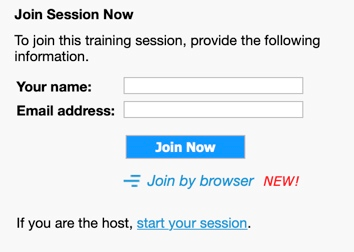
Enter your name and email address in the boxes indicated and join the session.
-
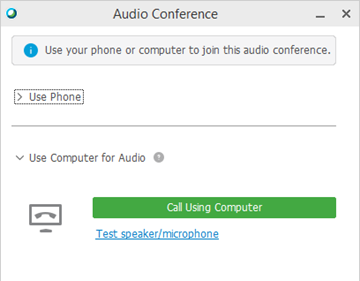
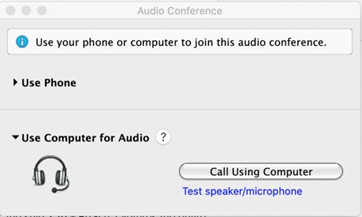
You will be asked to select your Audio preference, it is best to use Computer for Audio by selecting Call Using Computer. If you have a headset or headphones with a built in microphone, ensure it is connected, there is an option to Test speaker/microphone, text in blue below. Views shown below depend upon your laptop.
Communicating within Webex
The Participants Panel
This panel enables us to communicate throughout the session
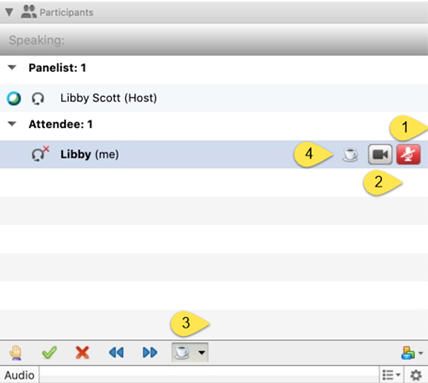
- Microphone: If the microphone is shown in red you are on mute. Click to unmute.
- Camera: Click to launch your camera.
- Emoticons: we will be using these throughout the session to interact as well as speaking.
- The coffee/tea cup: If you are stepping away, please put your cup up to indicate you are away, the default is a smiley face, click on the down arrow to open and select the cup. The cup is now shown at the bottom of the participants panel and beside your name (4 above). To remove it click the cup at the bottom of the panel.
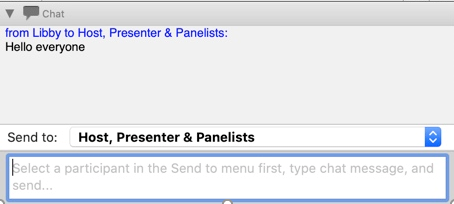
Chat
We may also use chat to communicate, do say hello to your colleagues whilst waiting for the session to start.
Accessing the participants panel and chat during a Screen Share
- When a screen is being shared, the participants panel and chat will no longer be to the right of the screen, instead it will be at the top of the screen, on auto hide.
- You will see the bar at the top of the screen “Viewing [presenter’s name] desktop”. Move your mouse over this bar and the drop down menu will be displayed.
- From here if you click on Participants and / or Chat, the boxes will open and you can place them where you wish on your screen.

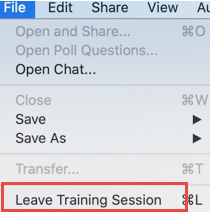
Ending the session
From the top of the screen click on File > Leave Training Session.