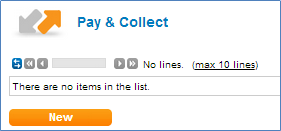
Classic - Pay And Collect

To start the payment run process select

Click the New Button and select your payment type if more than one is available.
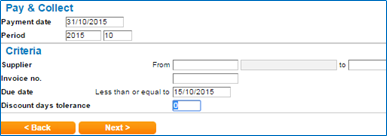
The following options can be customised:
a. Payment Date: 31/10/2015
b. Period: 2015 Month: 10
Click Next to start the payment run process. See screen print below.

Click this  icon to edit and remove invoices from the payment run.

Click this  icon to view the selected invoices generated for payment.
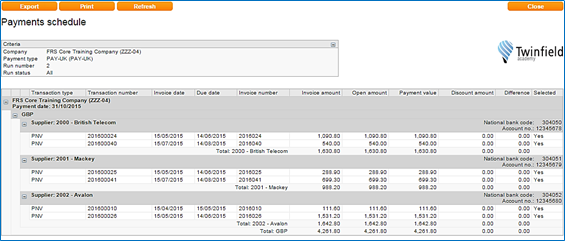
Click Authorise icon  to authorise/approve the Payment run.
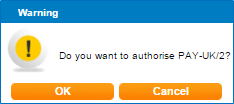
Click OK.
The payment run can also be reversed by clicking on this icon

Click this icon  to create the payment file which will be stored in the file manager.
 Click to Finish the payment run.
We recommend this action is completed after the bank statements have been processed.
To view all completed payment runs click on the tick box on the right hand side 