Uploading the Accounts for future years

This is the same process as of uploading the first year with the difference that the user can also upload a template file from previous year which makes the tagging process quicker and easier.
1. To load a MS Word or MS Excel document, select Load from the Actions group in the taskbar.

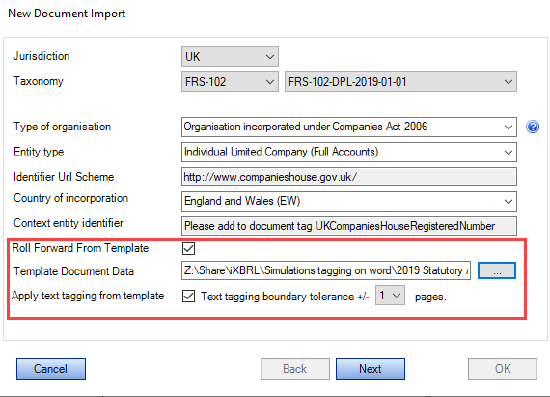
2. The New Document Import dialog will appear (there will be three), select the options and populate the fields accordingly.
- Tick the box Roll Forward from Template box to enable the upload of template document data.
- Template document data – click on the three dots at the end of this field to browse to the XML file for the company's comparative year accounts. This gives the user the ability to use last years tagged accounts as a template for the current year.
- Apply text tagging from template – tick the box if you wish the system to apply the previous year’s textual tags to the current year accounts. The page tolerance will allow the system to look over a set number of pages for the same information.
3. Complete the New Document Import, screens two and three, accordingly as below.
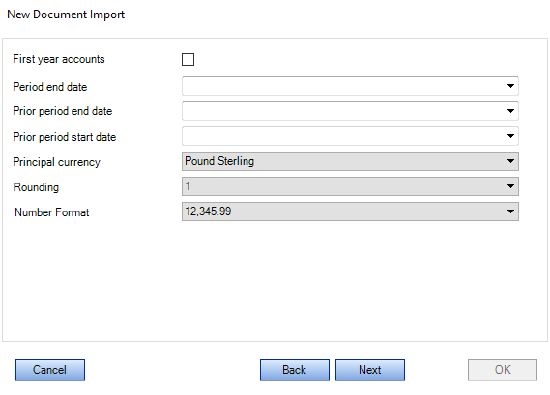
Dialog 2 of 3: add the period, currency, rounding and number format accordingly
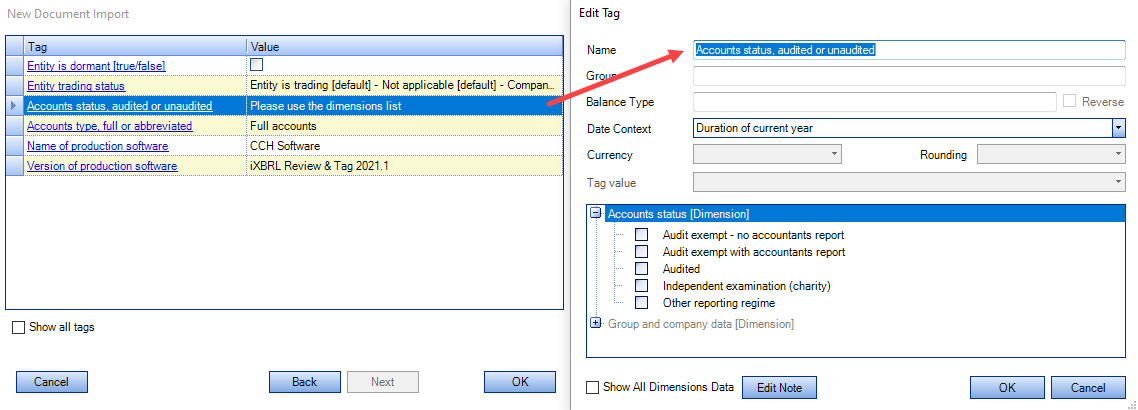
Dialog 3 of 3: click on the hyperlink on the first column to bring the Edit Tag window and select the appropriate dimension, for full list of dimensions click on box 'Show All Dimensions Data'
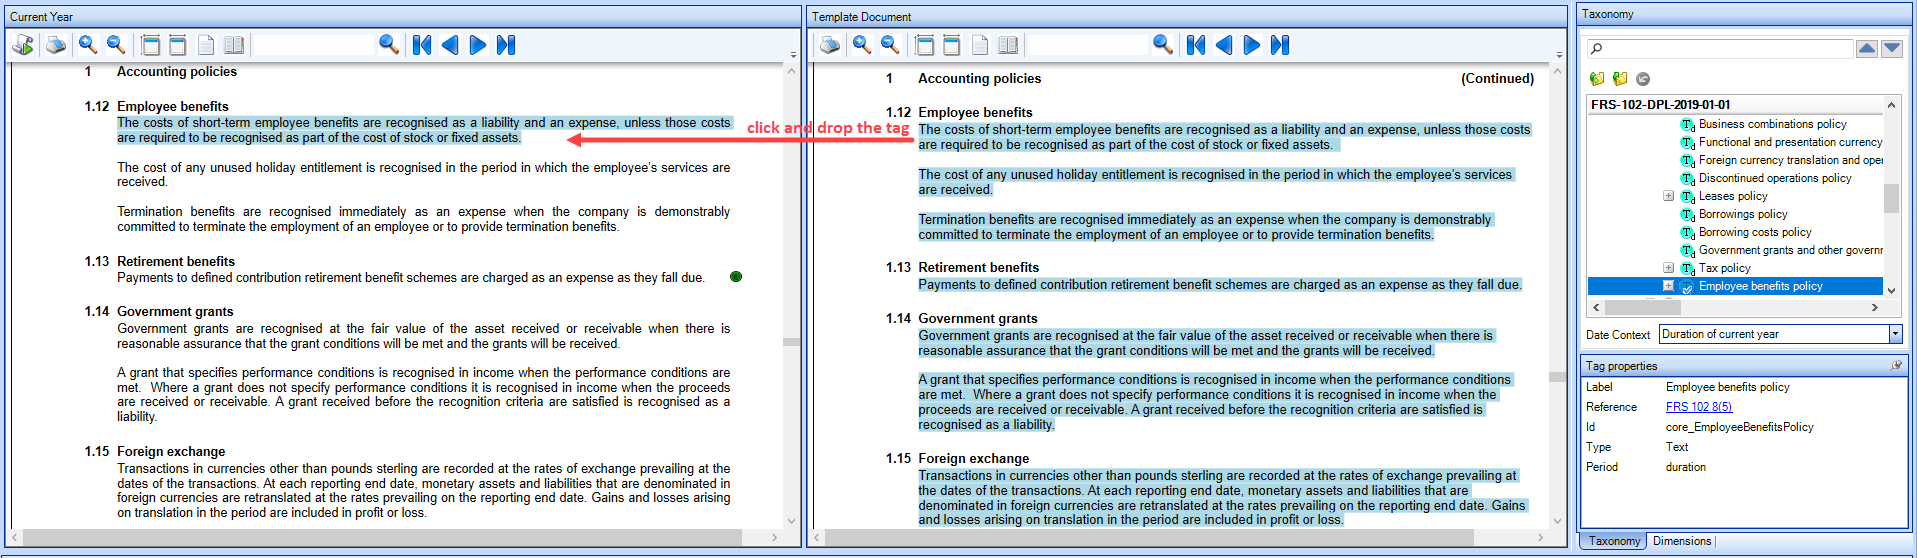
4. Once the steps above are completed, the system will switch the middle of the screen into dual year view. This view displays the current and comparative accounts side by side and enables the user to drag and drop tags between the two years.
- Use the bars on the left of each view to align the pages.
- The bar in the current year view will align both views.
- Locate what you are looking for on the left and then use the bar on the template document view to find the same information.

Then you can drag and drop the tag from the template document to the current year then the current year data will be tagged.
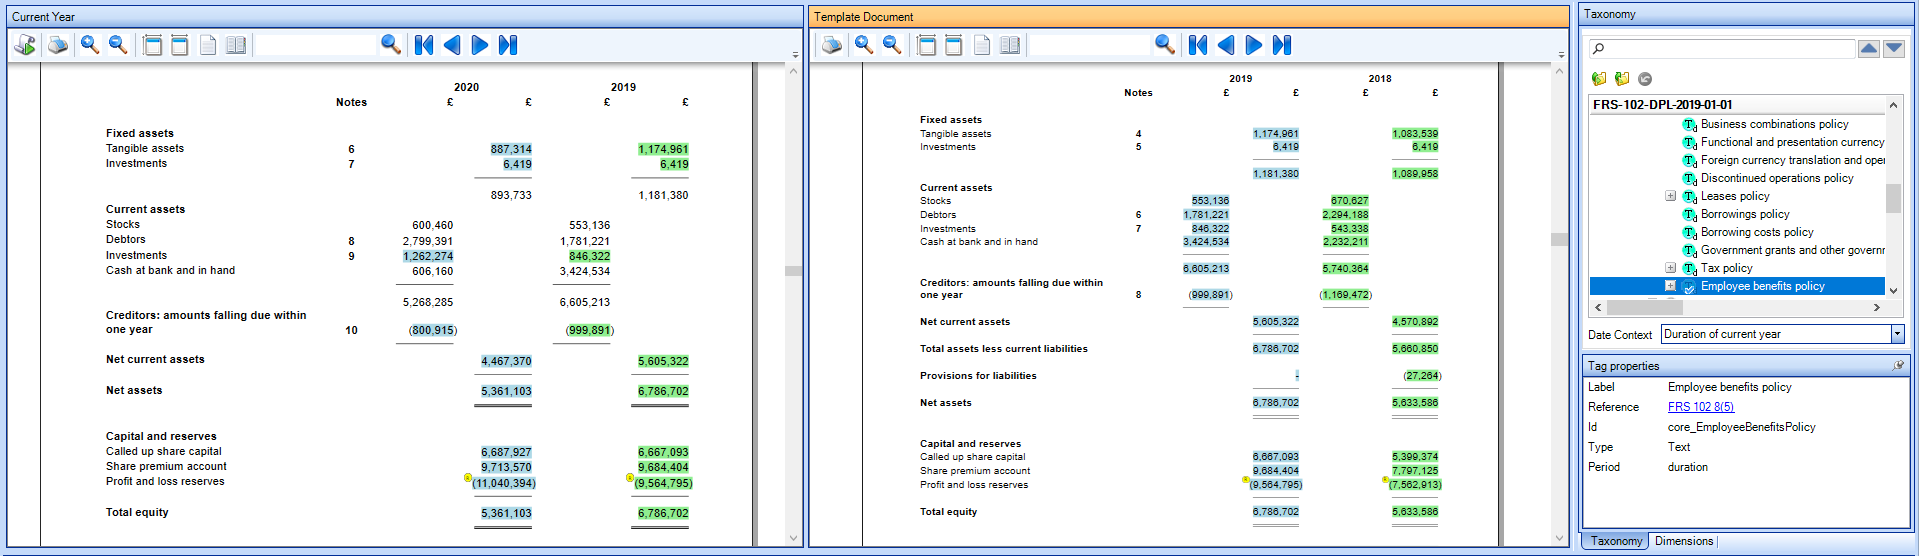
Use the same process for the main financial statements and notes.
5. Run the Allocate tags by clicking on the icon on the ribbon.
- This process will identify any paragraph and allocate the respective tag since the words of the paragraph match with what was setup within the Paragraph tag maintenance.
- As per screen below, any allocated tag will be shown as a green circle on the right hand side of the paragraph.
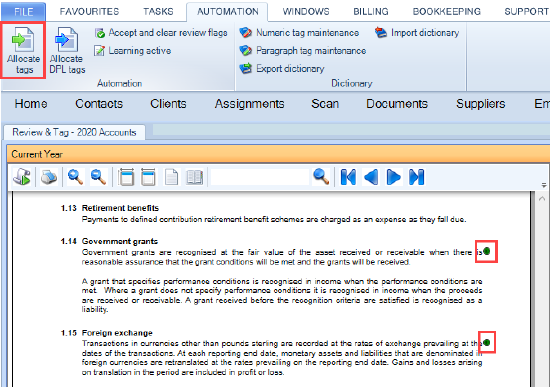
GREEN CIRCLE
Hover over the green circle and the tag description will display (as per below).

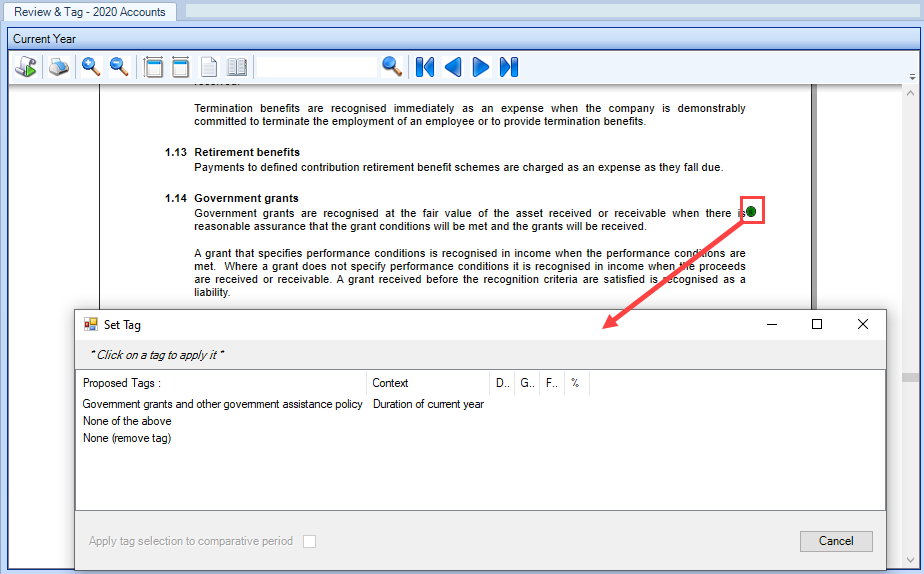
Alternatively, left-click on the green circle to open the Set Tag dialog, click on the tag suggested to confirm its application to the data (on this case a paragraph).
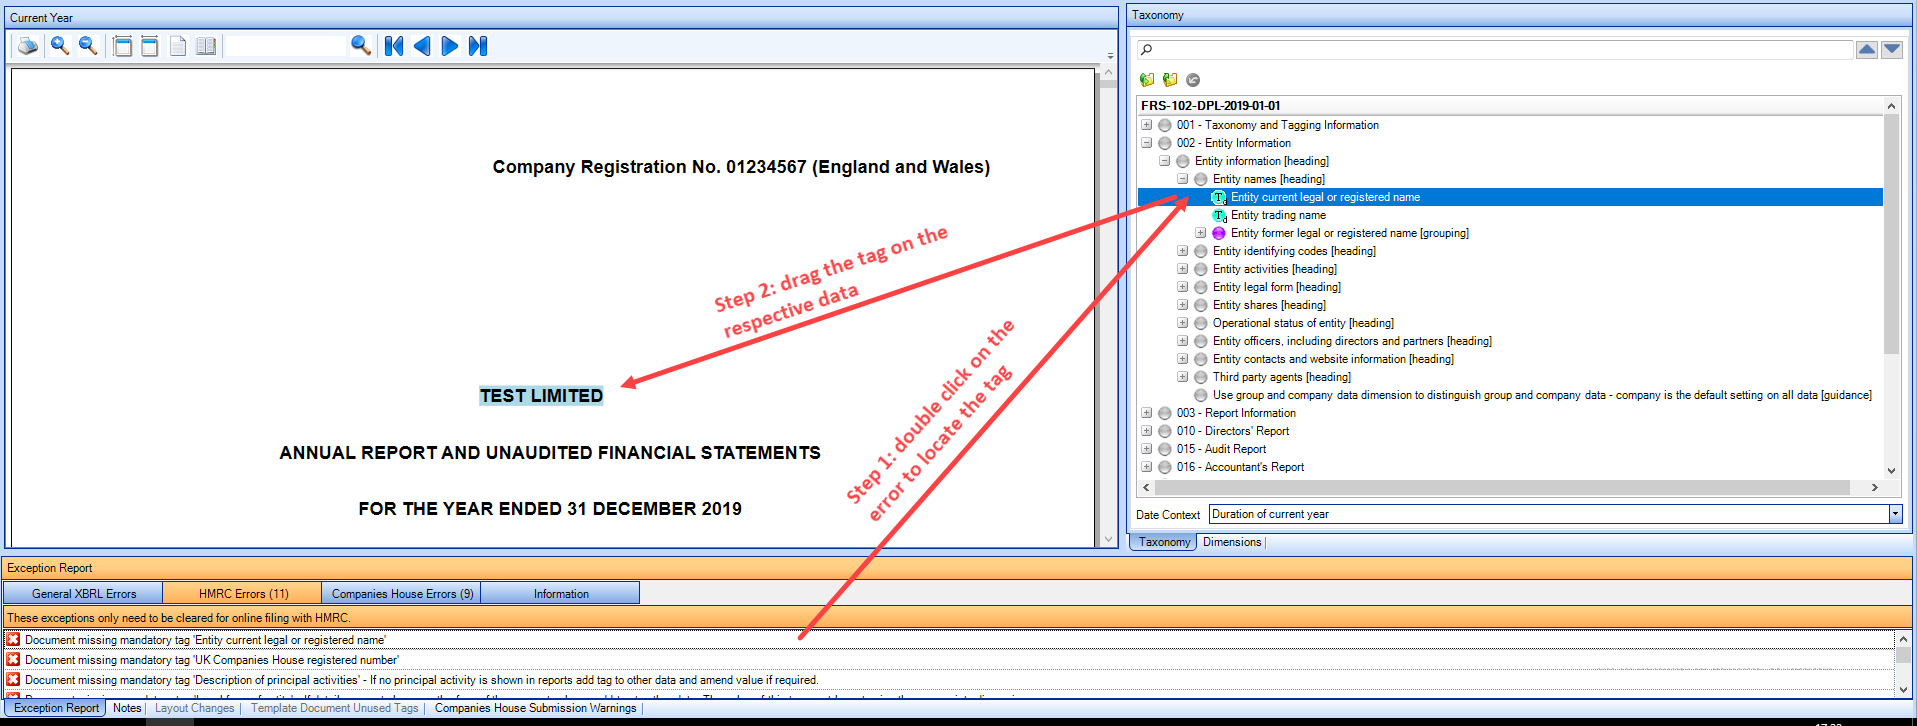
6. Fix the errors by double click on the error to identify the tag within the Taxonomy, as below the tag missing is Entity Current legal or registered name.
- Drag the tag onto the name of the company, once done the name of the company will be tagged.
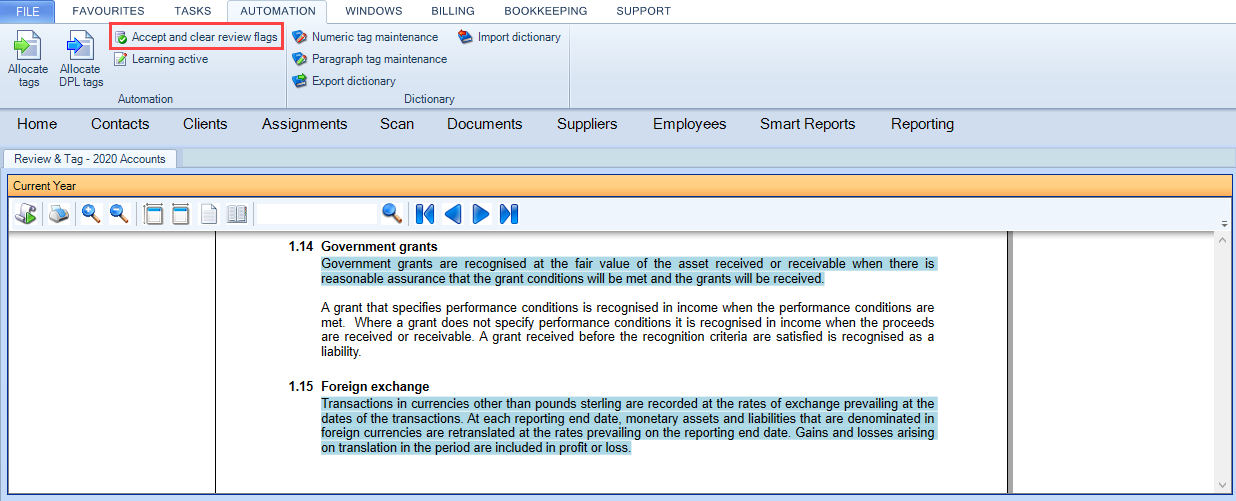
6. Once the errors are corrected and the green circles have been reviewed then under the tab Automation click Accept and Clear Review Flags from the ribbon and all information where a tag was allocated will be then highlighted.