Viewing and Grouping WIP Items

View and group WIP items
In the Bill Amounts window, you can view the WIP for a client in various ways. This also applies to Stage Two of the Billing Wizard.
You can:
- double-click items to drill down through the information to get more detailed WIP items
- choose how the WIP items are listed in the page by dragging one or more of the available column headings into the grey Group area on the page. This will group the WIP by the headings you have selected. For example, you may want to view the client's WIP by employee rather than have all the client's WIP items listed individually on the page. The headings available to group by are displayed under the toolbar.
- There is no default grouping so each user will need to customise their own view if they so wish.
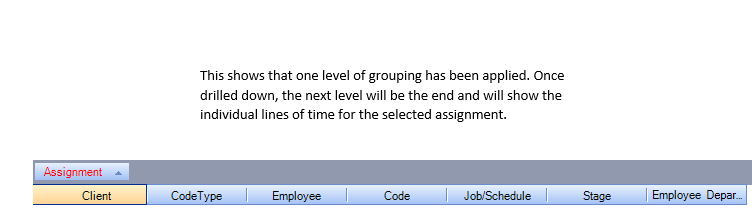
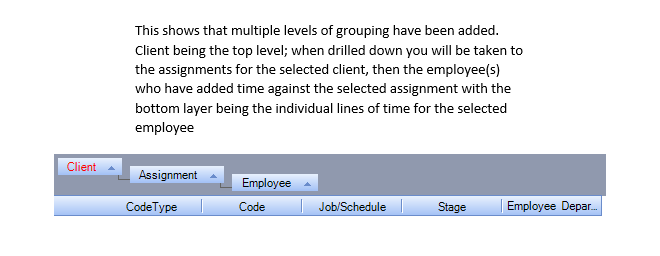
You can add another group heading either before or after those already selected to further group the items. What you select here determines how the WIP lines are displayed when you double–click a WIP line to drill down into the items. For example, if you choose to group by assignment, then by employee, each client assignment will de displayed as one WIP line, with all WIP items recorded against it totalled against the assignment. If you then double–click an assignment heading, you will drill down into the WIP for that assignment based on the employees who recorded it, as this is your second group choice. If you had selected a third group heading you would double–click an employee and the WIP would be further broken down by your third choice, such as code.