Creating a customised Profit & Loss

Select Insert from the Profit & Loss section of the top ribbon.

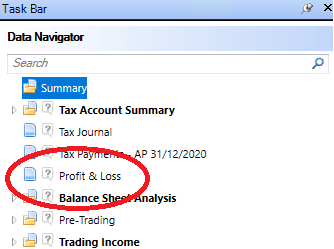
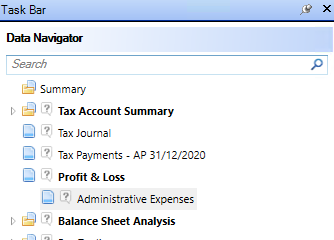
This inserts the Profit & Loss input statement in the Data Navigator
The Profit & Loss is made of four columns.

Description - the descriptions can be edited.
Per Accounts - Credits are denoted by a + to the left of the Per Accounts column and debits by a -.
Tag - will denote if the value is tagged if the Enable Tagging option is selected in Profit & Loss section of the top Ribbon.
Suppress - will exclude a row and any underlying analysis from the printed computation.
Rows and indented rows (child rows) can be added, sub-totalled, analysed and deleted by right clicking.
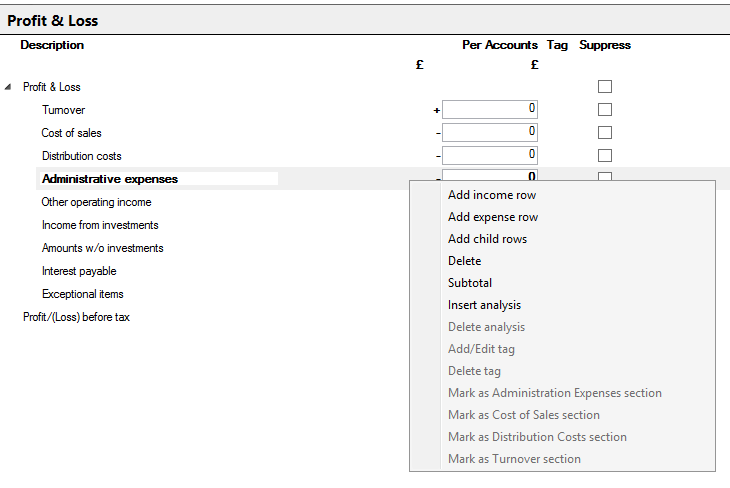
Select Add income row to add a row immediately below the one highlighted and the value entered will be added to arrive at the Profit/(loss) before tax.
Select Add expense row to add a row immediately below the one highlighted and the value will be deducted to arrive at the Profit/(loss) before tax.
Select Add child rows to add any number of rows indented immediately below the row highlighted. The rows added will be totalled.

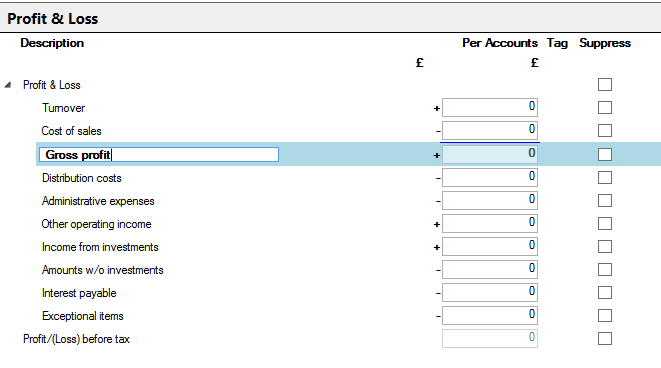
Select Subtotal to create a new row which subtotals the rows above. A description can be added to inserted and sub-totalled rows.
To create analysis for a row select Insert analysis. A sub analysis input will appear under the Profit and Loss in the Data Navigator.
The layout is preserved and will be rolled forward each time a new period of account is created.
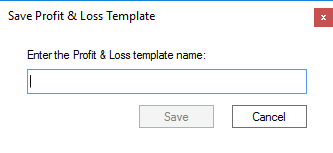
The customised layout can be saved as a template and used for other clients. Select Save P&L template in the Profit & Loss section of the top Ribbon

Give the template a name and Click Save.
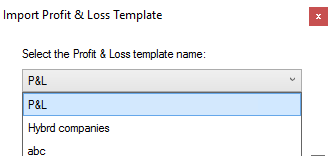
This template can now be loaded into Tax returns for other clients by selecting Load Template.

Select the required template to be loaded and click Load.