Account classifications

Account classifications are used to summarise the trial balance into major areas, for the purpose of the automatic inclusion or exclusion of sections of the audit file. Each classification is divided into 7 categories, as follows:
B Balance sheet or brought forward
A Addition
D Disposal
M Movement
R Revaluation
P Profit and loss
O Other
When a nominal ledger account is created on the system (see the next section) it is identified as belonging to a classification and to a category within the classification. Using this method, the system knows the exact nature of the account and the action to take if figures are present in the account in the trial balance.
Account classifications are designed to identify such areas as tangible fixed assets, cash at bank, turnover etc., and are identified by a 3-digit code which can be alphanumeric. The master audit packs provided with the system incorporate classifications based on a 3-digit alphabetical code where the alpha code is intended to identify the type of classification. For example, FAI - Fixed asset investments.
The account classification file is edited by selecting [Classifications] from the Reference menu.
On selecting this option, the system will present the Classification codes list.
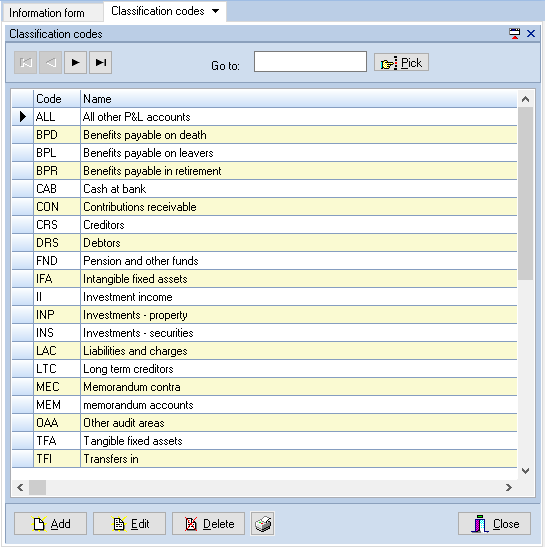
Classification code list
Adding a new classification
To add a new classification click [Add] and the Classification record dialog will be displayed.
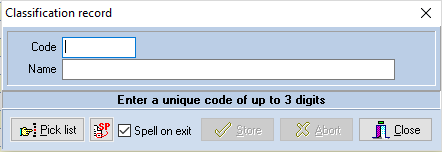
Classification record dialog
Enter the code and name of the new classification and then click on [Store]. Providing the code does not already exist it will be saved and the dialog cleared to allow further entries to be made. When you have finished adding codes, click on [Close] to return to the list. If you start making an entry and do not wish to store it, click on [Abort].
The pick list is provided to allow you to view existing codes.
Editing an existing classification
To edit an existing classification, display it in the list, either using the scroll bar or by typing the code in the Go to edit box, and either double click on the item in the list, or highlight it and click on [Edit].
The Classification record dialog will be displayed with the name selected for edit. Edit the name and click on [Store] to save the revised data.
Clicking on [Abort] will close the dialog and return to the list window without recording your changes.
Deleting a classification
To delete a classification, highlight it in the list and click [Delete]. The system will ask you to confirm that you would like to delete the highlighted entry and, if you confirm this by clicking on [Yes], will remove the item from the list.
Warning: Due to the need to provide flexibility, no checks are carried out regarding the desirability of deleting classifications from the file. It is therefore up to the user to ensure that, where classification codes are deleted, the chart of accounts is edited to remove reference to the classification in question. If deleted classifications are still incorporated within the chart of accounts no problems will arise when the materiality calculation is carried out, as the system will still create the appropriate records to hold the totals of the classification even though it is not present in the file. However, it will not be possible for the user to select the classification for override as it will not be present in the index to which reference is made.
Printing the list of classifications
To print a list of classifications, click the button containing the printer icon. The system will display the standard Windows Print dialog, allowing you to select the number of copies, and change the printer and printing options, if required. Clicking on [OK] will cause the list to be printed, clicking on [Cancel] will abort the print run and return to the list window.