Mandatory Procedures

CCH Audit Automation allows you to define mandatory procedures for each audit area. Each procedure is identified by a number and a name.
To add, or amend, the mandatory procedure for an area, select the area from the Audit areas dialog and click on [Mandatory procedures]. The system will display the Audit procedures dialog listing any procedures that have already been defined for the area.
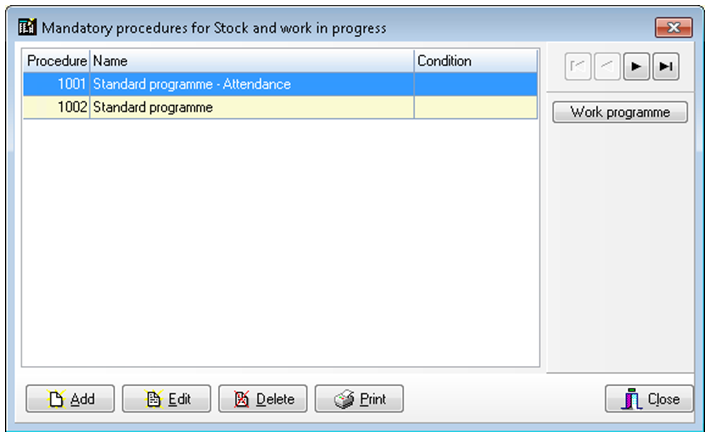
Audit procedures dialog
Adding a new procedure
To add a new procedure, you can either add the number and name and then select [Edit details] to add main headings, tests, sub tests and parts to tests; or you can import programmes from ASCII files. Importing is covered below. To use the first method, click on [Add] and enter the control details in the Procedure name form.
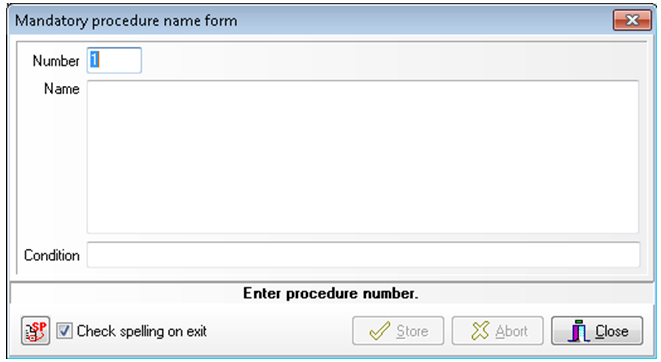
Procedure name form
Number - Each procedure is identified by a unique number. Enter a number for the procedure and a name, followed by any condition that is to apply to the inclusion of the procedure as a whole. You may use any number, as long as it is not already in use for the area, procedure numbers do not have to be consecutive.
Name - The name of the procedure can be of any length, however, it is recommended that the name be 50 characters or less so that it will all be visible in the procedure list, and it will fit in the heading to the page when the procedure is printed.
Condition - The condition will be used by the system when the audit procedure is initialised or updated, to determine if the tests in the procedures are to be active for the client. If the condition fails then all the tests will be set to inactive, if it passes, all tests will initially be active and individual main headings and test conditions will be considered. For full details on how to enter a condition and the condition test available, see page 87.
Clicking [Store] will add your procedure to the list but the dialog will remain on the screen, cleared of information, for you to add any subsequent procedures for the area. When you are done, click [Close].
Editing a procedure name and condition
To edit the name or condition attached to a procedure, highlight the name of the procedure and click on [Edit]. The Procedure name form will be displayed and you may edit the name and the condition. You cannot edit the number allocated to a procedure.
Deleting a procedure
To delete an audit procedure, highlight the name of the procedure and click [Delete]. The system will ask you to confirm that you wish to delete the procedure before carrying out your instructions.
Editing the procedure details
This option can be used to add or remove tests from the procedure. Highlight the name of the procedure to be edited and double click or click [Work programmes]. The procedure details dialog will be displayed listing any tests already defined for the procedure.
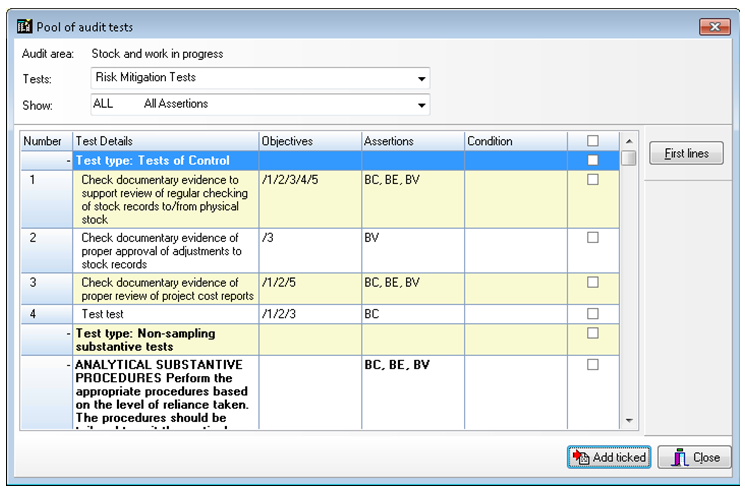
In all cases the [Select tests] and [Remove] buttons will be active to allow items to be added and deleted. Selecting [select tests] will display the pool of audit tests that will show the tests available for the area selected. The drop-down menus can be used to filter the type of tests and the assertion the test is applicable for. To add custom tests these should first be added to the master pack under pool tests.
Main section heading dialog
Use the check box at the end line to select the tests to be added to the procedure and select [add ticked].
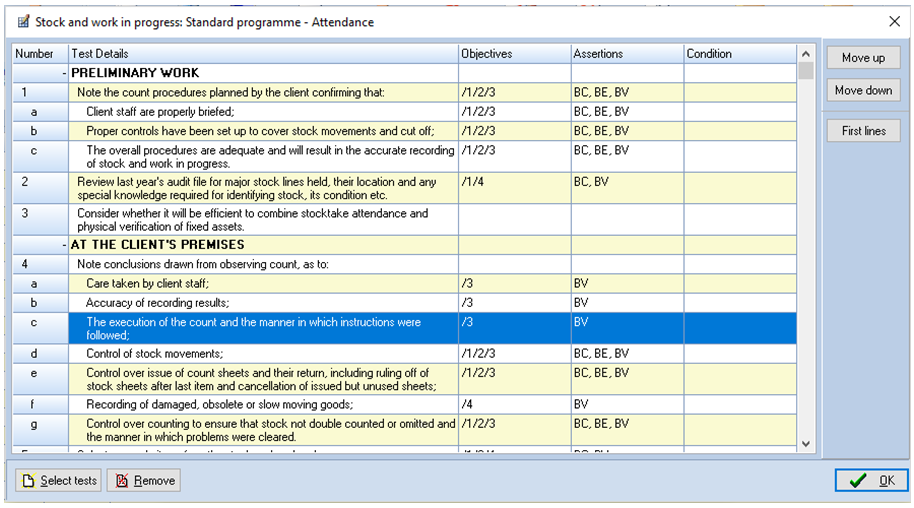
Pressing this button will result in the display of the audit tests being condensed to just show the first line of each test element. This allows you to see more of the programme and gain a clear picture of the overall structure. If you select this option, the caption on the button will change to [Full test] and pressing this will result in the full tests being redisplayed.
[Move up/down]
Pressing these buttons allows you to rearrange the order of the questions.