Journal entry: roll-forward, roll-back

Entering Journals in the first period
Note: Before entering journals create the reporting periods: Creating the reporting periods and if using Dimensions set these up before posting journals: Dimensions
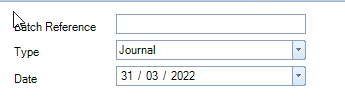
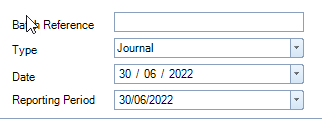
When posting journals, the date will default to the first open period end date. When posting into the first accounting period, before any periods have been rolled forward this will be the only date displayed. Thereafter, an additional field will be displayed.
If using dimensions (set-up prior to posting) a pop-up box will appear for each nominal code that has a dimension associated with it, choose the relevant dimension and click OK.
First period before roll-forward
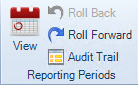
Roll-forward
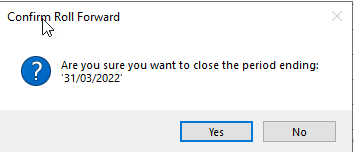
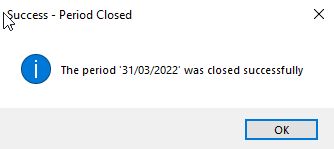
Once all entries have been posted into the first accounting period, to move to the next accounting period (assuming it has been created as above), from the Accounts Production Home screen, click on Roll Forward. A message will be displayed either click Yes or No to roll forward or not. If Yes is selected a further message will be displayed to advise the period has been successfully closed, click OK to close this message.
Posting into a subsequent or prior period after roll-forward
Now that the first period has been rolled forward an additional date box is displayed on the screen.
To post into the current reporting period, do not change the date, enter the journals as normal.
Once data entry is complete for this current period, close it and move forward to the next reporting period using the Roll forward option from the top ribbon of the Accounts Production Home screen. If rolled forward in error use Roll Back to reverse this.
If using reversing journals, these will be automatically reversed when the period rolls forward.
To enter journals into a prior period, select an earlier period from the drop-down list on the Journal screen.
You will not be able to roll back once you have posted transactions to the new period.