CCH ProSystem - VAP Chart : Mercia Company Packs

Installation
From the CD
Insert the CD into your CD-ROM drive and the ProSystem Setup dialog will automatically appear. If it does not, run Windows Explorer, select the CD drive and double click on CDLauncher.exe to display the dialog.
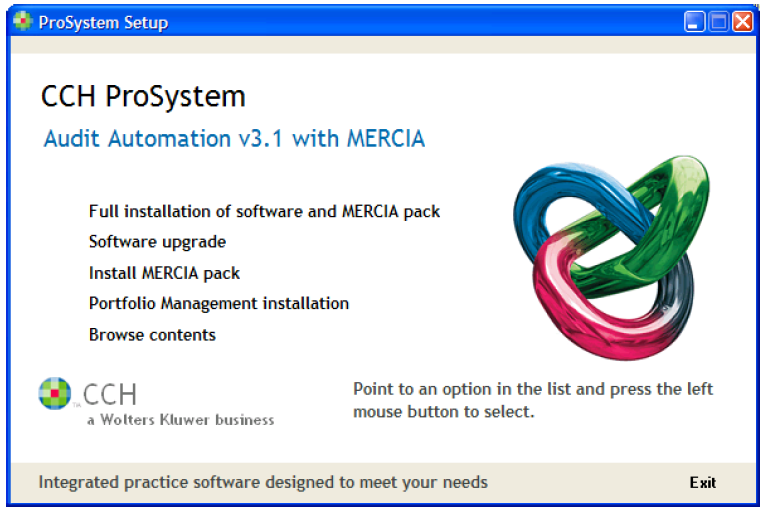
- Click on Browse contents and Windows Explorer will appear with the contents of the CD displayed.
- Double-click on the folder called Old versions and supporting installations and then VAP Chart.
- Double-click on CCH VAP Chart Setup v2 Mercia.exe to launch the installation routine.
- Follow the instructions on the screen.
Note: that this routine is only for use on packs automating the MERCIA audit methodology. If you have more than one such pack you will need to run the routine on each one.
Installing from a file downloaded from the internet
Downloading
Load your Web Browser, connect to the Internet and go to www.prosystem.cch.co.uk. If you have not yet created a user account, select Create new account and follow the
instruction to set one up. If you already have an account, log into the system with your user name and password.
Select Support from the Personal menu and then click on the CCH Audit Automation tab to display the CCH Audit Automation support page. Click on the option CCH Accounts Production (VAP) chart of account and working papers for Mercia packs – installation routine v02 July 2009 and select the option to save the file to disk and store it in a temporary directory on your hard drive. (Assumed to be “C:\TEMP” in the following instructions).
Installation
- Click on [Start] and then on Run...
- Enter C:\TEMP\CCH VAP Chart Setup v2 Mercia.exe, or select the file using the [Browse] button, and click on [OK].
- Follow the instructions on the screen, see below for installation options.
Installation Options
The installation program will offer you our standard default directory on Drive C, if you have your master packs installed elsewhere, you must change to that directory. Within the directory will be listed the directories containing the master audit packs used on your system - these will be shown with an extension of “.MST”. Select the directory relating to the pack to be updated and click on [OK]. Provided the directory selected contains a master pack, the nominal chart and associated data will be updated, otherwise you will be informed that the installation cannot proceed and the process will abort.
The CCH Accounts Production (VAP) Chart
This installation contains a chart of accounts designed to match the chart used in VAP and allows a one step transfer of data both from and to that program.
The audit programmes, checklists and planning schedules remain exactly the same as those supplied in the Mercia packs, as set out in the Master Audit Pack manual.
The VAP chart is based on a 3 digit alphanumeric code in the following format:
| Where | 99A 9 = a number from 1 to 9 A = a character from 1 to 9 or A to Z. |
CCH Audit Automation uses a number from 0 to 999,999 to identify accounts and hence a standard conversion formula has been used to convert each VAP code to an account number in CCH Audit Automation. Using this formula it will be possible for you to calculate the correct account number to create to match any new codes that you add for a VAP client. This will ensure that the new accounts appear in the correct logical section in the audit file.
The formula is as follows:
| VAP code | CCH Audit Automation | |
| Character 1 | 0 to 9 | 0 to 9 |
| Character 2 | 0 to 9 | 0 to 9 |
| Character 3 | 0 to 9 A to Z |
00 to 9 10 to 35 |
| Examples: | ||
| 123 | 1203 | |
| 12Y | 1234 | |
| 04W | 0432 (but as CCH Audit Automation deals in numbers, this equals 432) |
For any new accounts that you add ensure that you enter the VAP code in the Alpha Code field for the account and that you allocate the account to the correct classification and category.
Master audit pack setting
The VAP chart can contain sub codes. CCH Audit Automation does not use sub codes and needs to be able to discard these and accumulate all sub codes into the single main code. To enable it to do this, you need to set ‘Significant digits in alpha code’ set to ‘3’ in the Master audit pack settings for each master pack you update to the VAP chart.
You can set this by selecting Master packs > Edit existing pack. Enter the code of the master pack to be updated and click on [OK]. With the pack loaded, select Control data in the list on the left followed by [Master settings] form the dialog that appears. Select the Options tab, set ‘Significant digits in alpha code: to ‘3’ and click on [OK].

Implementing for existing clients
Each client data contains its own customised chart of accounts and equations. Simply updating a master pack that is already in use will not result in any new accounts or equations appearing for clients already attached to the master pack.
You can copy any new equations and accounts to a client by loading the client, selecting File > Edit control data > Control data. The Client control data dialog
will appear:
- To add any new equations click on [Refresh equations].
- To add any new nominal accounts click on [Refresh chart].
Importing the TB from VAP
The import of the current TB is automatic once the TB has been exported from VAP. To achieve this you must first set up Audit Automation so that it looks in the transfer directory in which you will save the file you export from VAP, you only need to do this once. See section D. of the System Managers manual for more information.
To export a TB from VAP, run the program, load the client and select, Utilities > Export TB > PROaudit. If necessary change the name of the file that is to be created to CODE.CSV where CODE is the code by which the client is known in CCH Audit Automation, and make sure that the file is saved to the transfer directory where CCH Audit Automation will look for import files.
To import the data to CCH Audit Automation, simply launch the program and load the client.
The system will find the export file in the transfer directory and ask you if you wish to import it. Indicate that you do and the data will be imported and the file deleted. If any accounts are present in the export file which do not exist in CCH Audit Automation, the system will create these for you and present a tab containing the new accounts created. You can drill down and edit any of the details relating to these accounts, including the account number. Note that once you have closed the tab you will not be able to edit the account number from that point on.
If any errors occur during import, e.g. codes cannot be created as there is a conflict as the account number already exists in AA with a different alpha code, you will be presented with an error log listing the problems encountered and all such items will be added to the suspense code.
Exporting audit journals toVAP
To transfer audit journals to VAP, load the client in Audit Automation and select Utilities > VAP journal posting file. If there are any agreed journal entries that have not yet been posted, CCH Audit Automation will create an export file and advise you that this has been done, otherwise it will inform you that there are no unposted entries. Load the client in VAP and it will automatically import the journals from CCH Audit Automation.