DPL tagging process within Accounts using iXBRL R&T

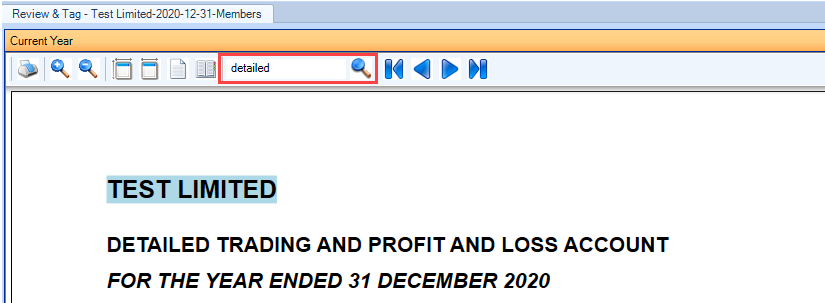
Step 1 - go to the first page of the DPL page
- Go to the first page of the Detailed Trading and Profit and Loss Account (DPL).
- Either scroll down the bar or by typing the word 'detailed' into the search box and click on the magnify glass.
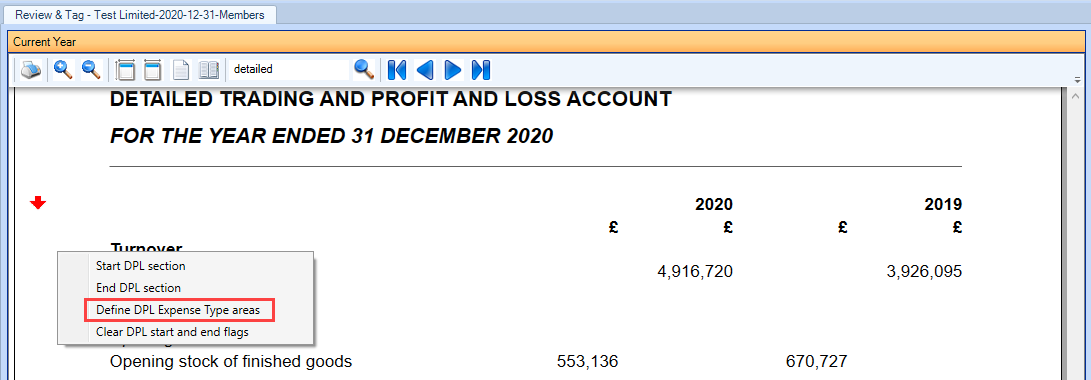
Step 2 - define DPL Expense Type areas
- On the left hand side of the page, right click and select Define DPL Expense Type areas.
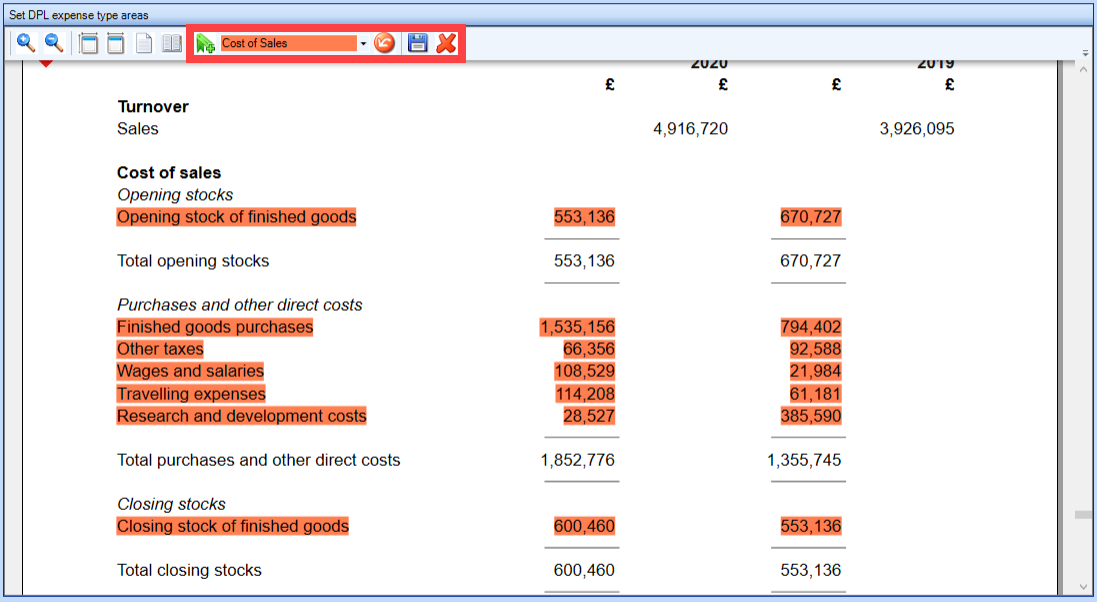
Step 3 - highlight the expense type areas
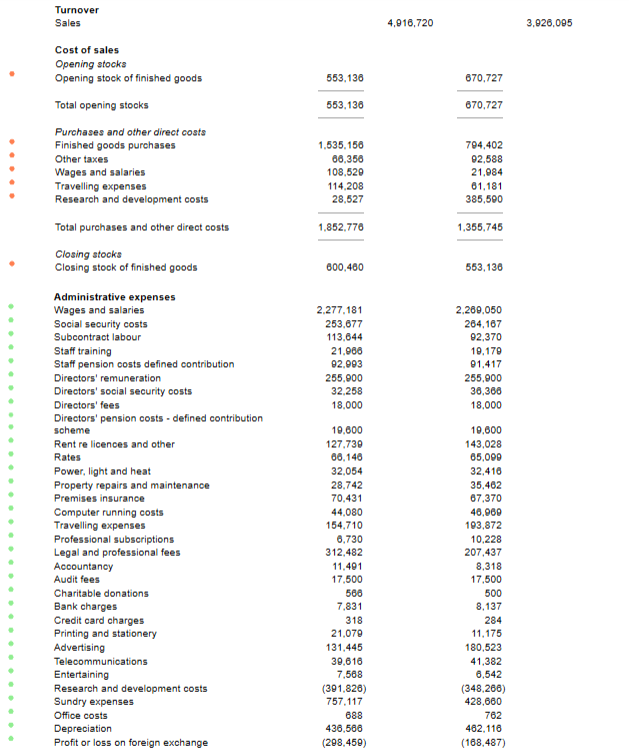
- Highlight the lines, including balances for Cost of Sales section
- Select Cost of Sales from the top left of the Accounts (Set DPL expense type areas menu)
- Click on the green + to add the expense type area drop-down list to obtain the following result:
- Proceed with the same process for the distribution costs and administrative lines. Remember to choose the respective expense type area, example below.
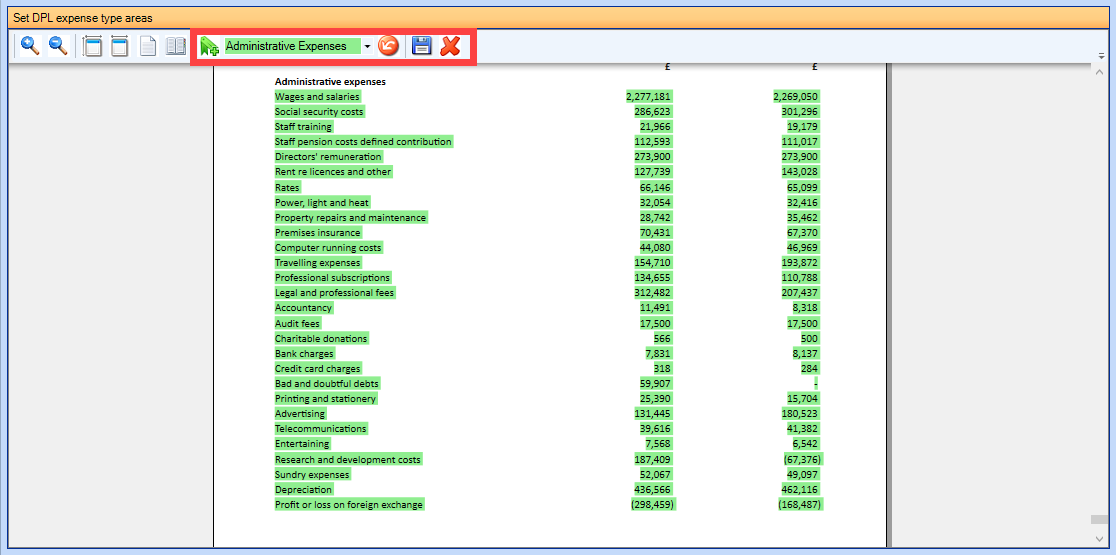
- On the DPL expenses type areas menu, click on the disk icon to save.

- The result of this step is the following, all lines that were previously highlighted as above will have a coloured dot on the left hand side.
Step 4 - run the Auto DPL tags
This process will look for the DPL tags using the description of the expenses.
- On the task bar under the tab Automation, select Learning Active
- Click on the icon Allocate DPL tags.

Step 5 - review the tags allocated by the Auto DPL tags process
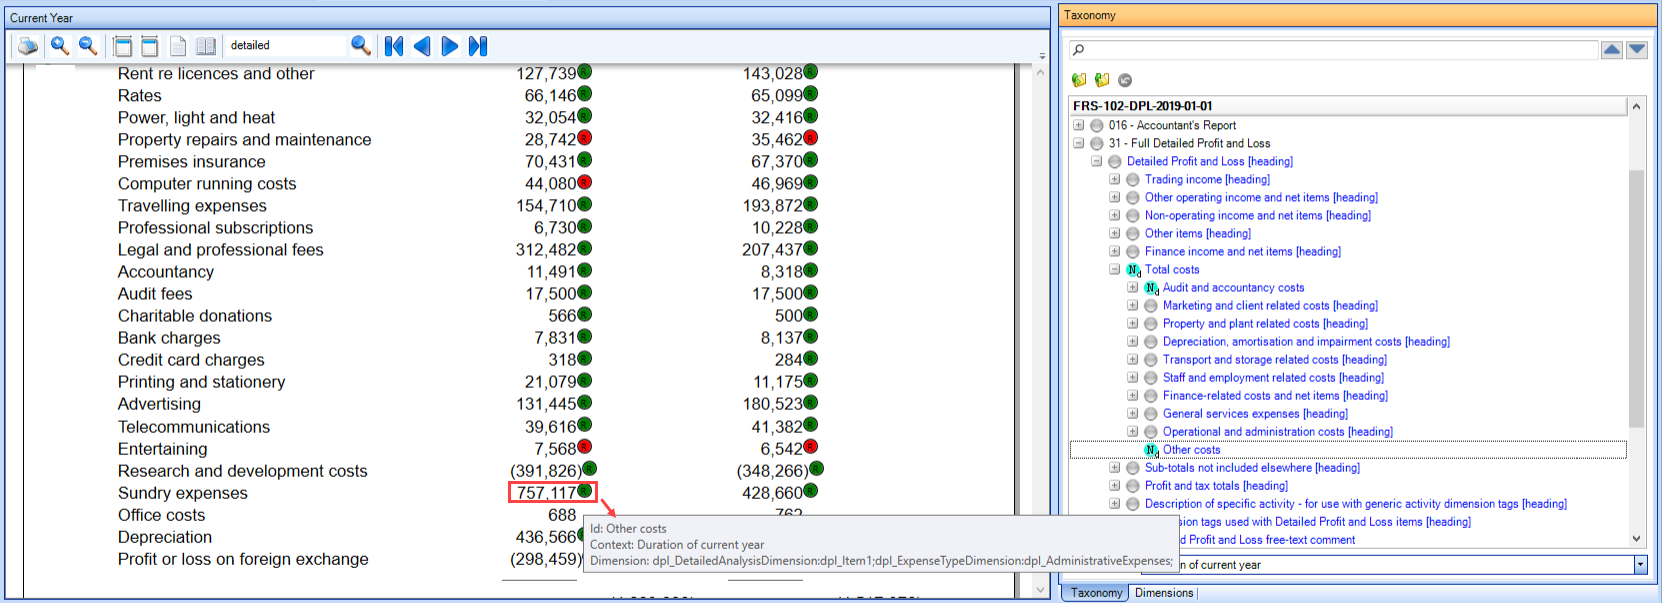
Once the Auto DPL tag is finished, there will be review flags (coloured circles with an R within) on the left hand side of the balances:
- Green circle indicates a direct match
- Red circle indicates multiple matches
- No circle at all indicates that the description of the line does not match with any tag listed on the taxonomy

GREEN CIRCLE
Hover over the green circle and the details of the tag allocated will display as per below:
RED CIRCLE
- Click on the red circle, the Set Tag window pops up
- At the bottom of it, click on the box Apply tag selection to comparative period
- Choose most appropriate tag from the list given
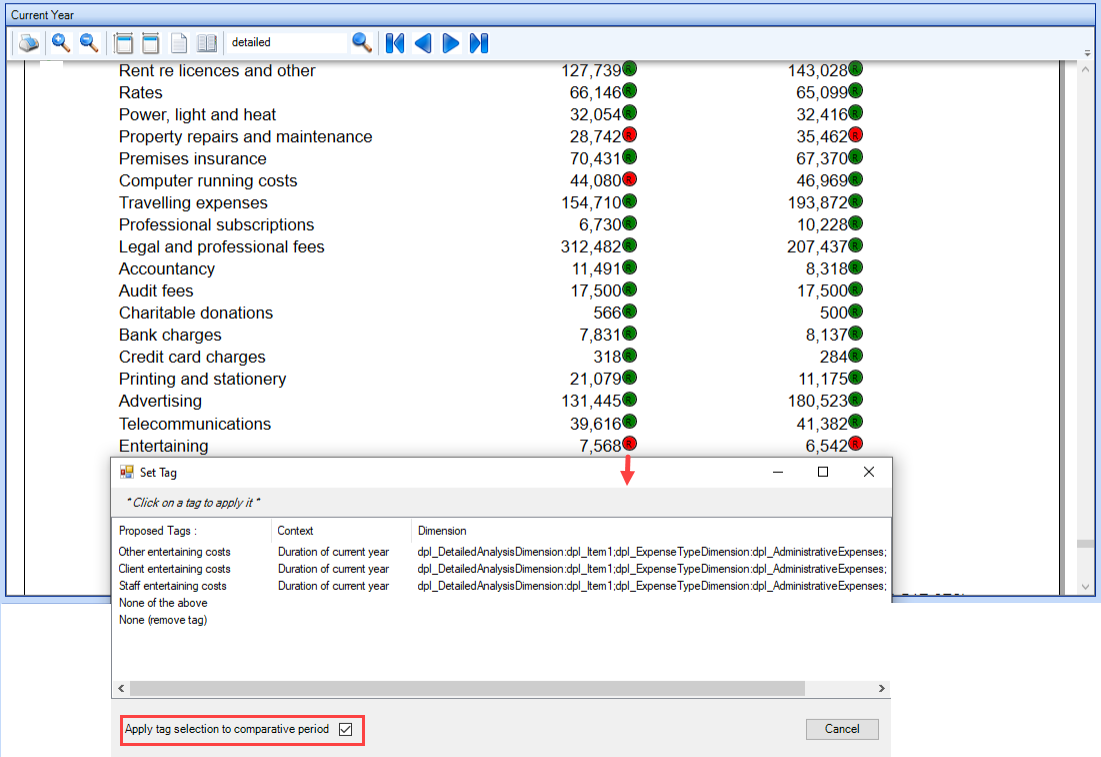
- Once the tag is chosen, the red circle disappears and the balance is now tagged as below.

NO CIRCLE
Any expense which does not have green or red circle are not tagged and therefore must be tagged, steps below.
Tags are in the taxonomy on the right side of the window under the section Full Detailed Profit and Loss.
- Make sure the icon Learning Active which is on the task bar is highlighted (step 4 above)
- Locate the tag within the taxonomy using the search box at the top right or simply expanding the Full Detailed Profit and Loss section
- To apply a tag from the taxonomy, drag and drop it onto the balance
- Make sure the date context is correct (duration of current year or duration of prior year)
- Make sure the item number is consistent for current year and prior year (if more items are required for the same tag, click the box at the bottom left of the screen)
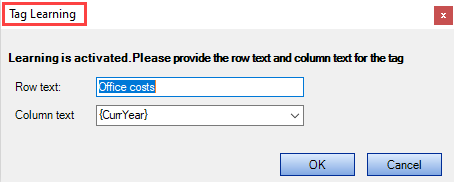
- Once the above is completed, The Tag Learning window pops up, click Yes to confirm you want to save the tag applied to that description in order to minimising manual tagging.

- Once the above is completed, The Tag Learning window pops up, click Yes to confirm you want to save the tag applied to that description in order to minimising manual tagging in future.
- Proceed with the above for the comparative year.
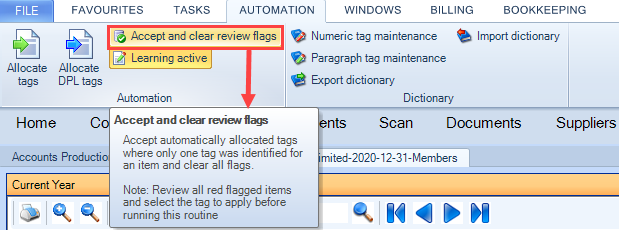
Step 6 - accept and clear review flags
Once the review flags are reviewed and any missing tag is applied, from the ribbon click Accept and clear review flags. Learning active will automatically close.