Bulk Billing

Bulk Billing Wizard
To utilise the bulk billing facitlity, users will need to have the correct task permission enabled as well as have an understanding the standard billing process with CCH Practice Management.
Bulk billing can be used across a number of clients, against a single assignment.
The steps to use the Bulk Billing Wizard are as follows:
- Within the Find Clients window, select the clients to Bulk Bill (this function is only available on the Find Clients screen)
- Select Create Bulk Bill from the Billing Wizard icon on the Ribbon.
- The Bulk Billing wizard dialog appears
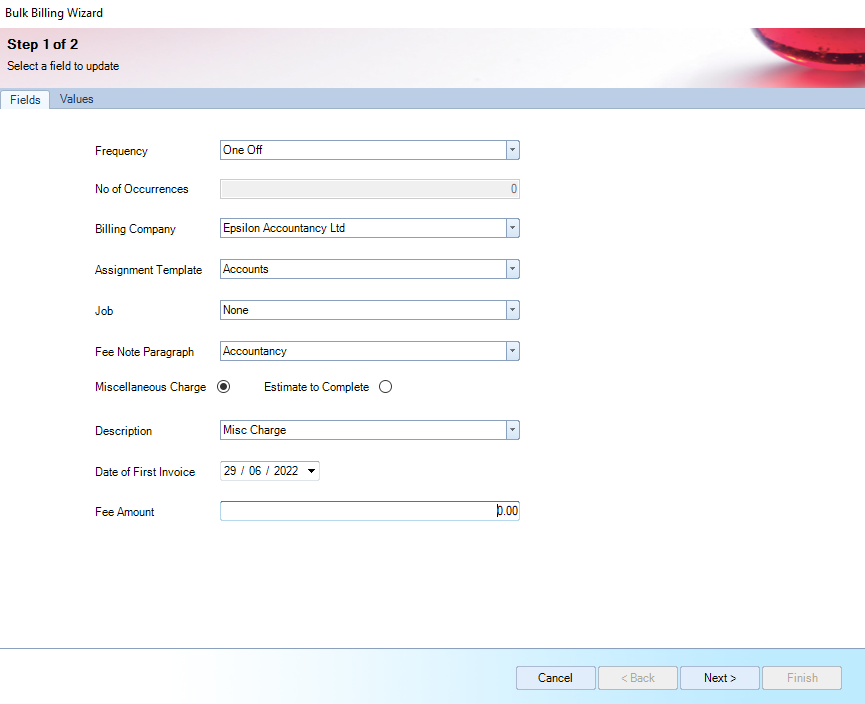
Step 1 of 2 (above) has various options to select:
- Frequency – Select an option from the list to determine how often a repeat bill is to be created. By default One Off i.e. no repeat bills are required. If the user requires the bills to be repeated then select the Frequency from the available drop down values

- No of Occurrences - Set the number of bills to be created. E.g., a year would be 12 entries when using the Monthly frequency. This field is greyed out where One Off is selected
- Billing Company – Select a company from the drop-down list. Where a company is set as default within File > Maintenance > Internal > Companies, this company is automatically displayed as default
- Assignment Template – Select an assignment template from the available list
- Job – Select or enter the name of the job to be used for bulk billing
- Fee Note Paragraph – Select a billing paragraph from the list of available paragraphs for the selected assignment template. Where no paragraphs are available within the drop down, cancel the bulk bill process and navigate to File> Maintenance> Assignment> Assignment Templates. Select the Assignment, click the Billing tab and move the relevant billing paragraphs from Available to Selected. Re-access bulk billing and continue. Please note, access to this area my be restricted
- Miscellaneous Charge/Estimate to Complete – Select either a miscellaneous charge or estimate to complete
- Description – Select the relevant description for the charge. This field is populated with the relevant available code type descriptions depending on whether miscellaneous or estimates were selected
- Date of First Invoice - This field defaults to today's date. Click the list to access a drop-down calendar from where a future date can be selected if required. Dates in the past are not allowed
- Fee Amount - Enter the amount to be charged. The values can be edited for each selected client in Step 2. An amount of £0.00 is not allowed
- Click Next to continue. Only clients who have the applicable Assignment (selected from Step 1) are returned within Step 2, however if a job was selected and it does not exist the client will still be displayed with the value of None in the job column. The client/assignment is excluded from Step 2, where the clients’ assignment company differs from the company selected on Step 1:
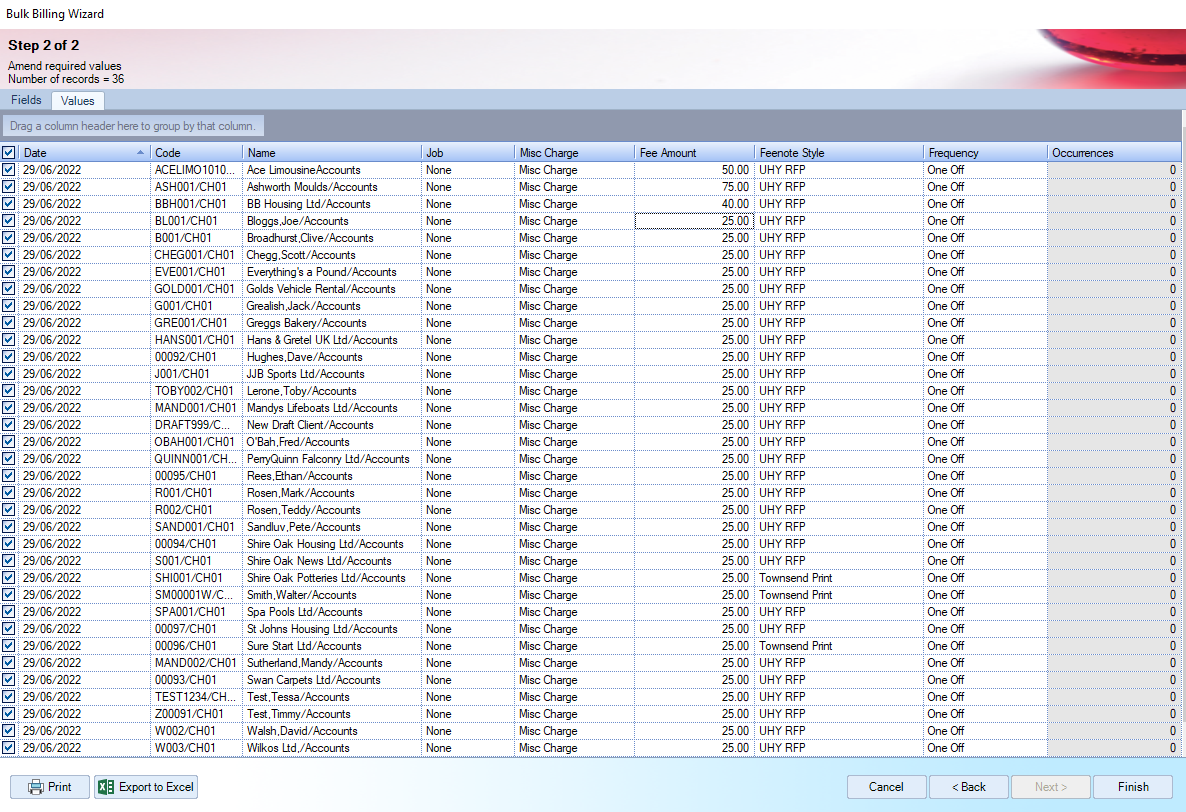
The following items are displayed in this grid:
- Check box – Tick the column header to select all the records from the grid or select only specific records for which to create the bill
- Date – Defaults to the value from Step 1, but can be amended on individual lines
- Code – Displays the client and assignment codes
- Name – Displays the client and assignment names
- Job – This field is either populated with the job name, selected from Step 1, or with None if no job is present on the assignment. The Job can be amended on individual lines
- Misc Charge / Estimate to Complete – Depending on the option set in Step 1, the column name can either read Misc Charge or Estimate to Complete. The descriptions set in Stage 1 are displayed, but can be amended on individual lines if more than one code type exists under File > Maintenance > Miscellaneous > Code Types
- Amount - Defaults to the value from Step 1, but can be amended on individual lines. If repeat bills are being created, all future bills will take the amended value
- Feenote Style – Displays the relevant default document style set for the client bill/RFP within File > Maintenance > Document Styles > Document Styles by Company and Office. Where no style is set as Default, then the first client bill/RFP document style is returned. The Feenote Style can be amended on individual lines. The system determines the Feenote Style based on the status of the RFP flag on the active client assignment
- Frequency – Defaults to the value from Step 1, but can be amended on individual lines
- Occurrences - Defaults to the value from Step 1, but can be amended on individual lines
Columns can be dragged on and off the grid by using the Field Chooser and items can be grouped or sorted by any column header
- Click the Print button to preview or print the details from the grid. Uses can also click the Export to Excel button to export the full grid into excel
- Click Finish to create the bulk bills. The Bulk Billing wizard confirmation dialog appears:
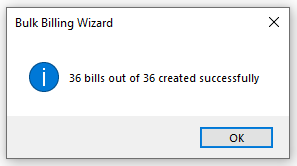
Created Bulk Bills
Once the wizard has completed, all bills created using the bulk billing process are available on the Bills to Approve homepage as draft bills.
Repeat Bills
If repeat bills are requested within the bulk billing wizard, the initial bill forms the template for the remaining repeat bills.
Deleting bulk bills
Where the draft bulk bill is deleted and repeat bills are associated, the following Bulk Billing dialog is returned:

- Yes – current and all associated repeat bills are deleted
- No – cancels the deletion routine and returns to the homepage
Task permissions
- #Client #Create Bulk Bill
If not selected, this restricts users from accessing the Create Bulk Bill option from the Billing Wizard icon on the Ribbon in the Find Clients screen.