Recording an expense

Record an Expense
-
Create an Expense Sheet or open an Expense Sheet not submitted.
-
Select the Date you incurred the expense from the drop-down calendar. You cannot change the view.
-
Enter the reference number in the Reference field.
-
Select the Client from the drop down list in the Client/Assignment column.
The A/Code column is automatically populated. -
Select the Task from the drop-down menu.
-
Enter the amounts in the Quantity and Cost. The Tax, Total and Charge columns are automatically populated with data.
The charge field only automatically fills with a value if you have a charge rate set up for the Code Type. Otherwise, you will need to enter the charge rate.
-
Type supporting information about the expense into the Comments column.
-
To enter additional expenses for another Client or Assignment, press the [Enter] key until the cursor appears in a blank line just below the headings across the Timesheet.
-
Repeat Steps 2 to 8 for other expenses for this date.
-
To submit the Expense Sheet for posting, click the Submit
 button.
The Entry Status field changes to Submitted and the Authorisation Status changes to show Unseen. -
Click OK.
Adding an attachment to an expense sheet
Users have the ability to attach supporting documents to their individual expense lines, these supporting documents are automatically locked and filed into CCH Document Management Employee Filing.
This ability requires CCH Document Management to be installed and licenced.
Once the linking to CCH Document Management has been done, when an employee opens their expense sheet, they will be able to upload supporting expense documentation and view a snapshot of the uploaded document within their expense sheet.
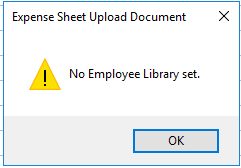
If the following message is returned when clicking the  within the expense sheet, then the link to CCH Document has not been created:
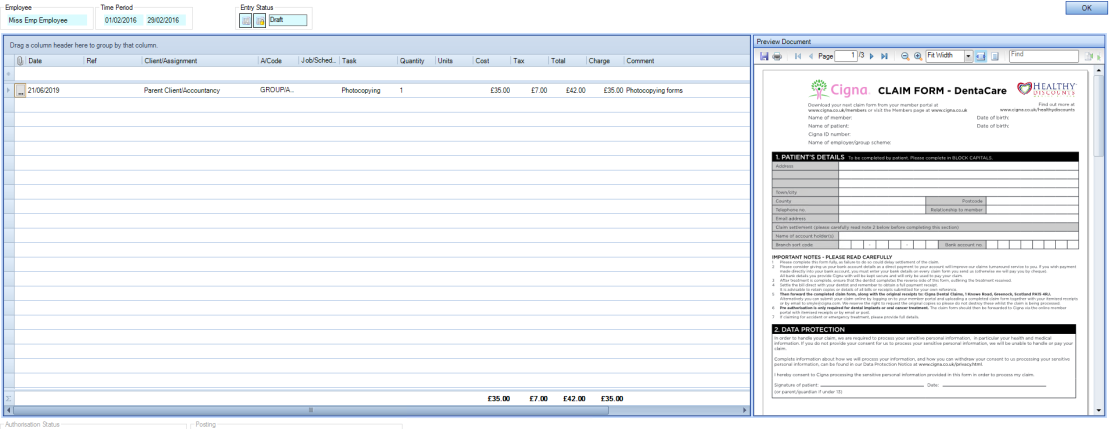
Click the and browse to file location. The Document is displayed within the Preview Document (to the right of the screen). Continue to add the expense line as per normal. As soon as the document has been added within the expense sheet, the document is automatically added as a locked document to the Employees Document Centre:
The document is automatically locked when filed into the Employee Document Centre. If the employee unlocks and checked out and edits the filed document, this will cause a mismatch between the entered value within the expense sheet and the document preview.
Removing an attachment to the row on the expense sheet
To remove an attached document, right mouse click on  and click
  . This will remove the document from the Expense sheet and from the Employees Document Centre.
Removing the row with an attachment on the expense sheet
To remove the row with an associated attached document, highlight the row and click delete from the keyboard. This will remove the entire row, including the document from the Expense sheet and from the Employees Document Centre.
Users are able to remove or update an attachment against a posted expense sheet.
Setting the link from Employee Expenses and CCH Document Management Employee Filing
The following lists out the steps required to link adding attachments from Employee Expenses to Employee Filing with CCH Document Management:
- Document Types
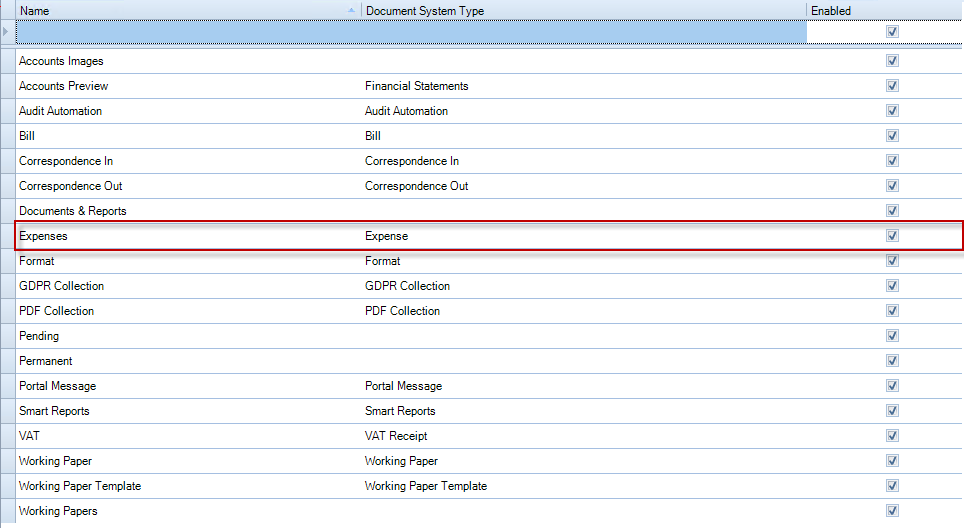
A Document Type is required to be created under File > Maintenance > Document Management > Document Types and link to the ‘Document System Type’ of Expenses. Please ensure that the ‘Enabled’ box is ticked:
- Document Library
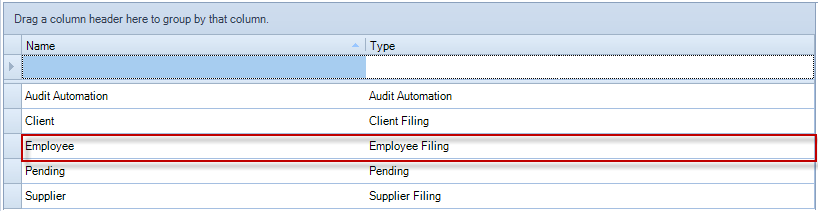
To be able to file into the Employees Document Centre, an Employee Filing Library needs to be created. This step can be skipped if Employee Filing is already enabled under File > Maintenance > Document Management > Libraries. Link the Name to the Type = Employee Filing:
- Libraries and Types
This step adds the Document Type into the newly created Employee library under File > Maintenance > Document Management > Libraries and Types. Select Employee from the Library drop down, locate Expenses from the list of ‘Types not in Library’ and move across to ‘Types in Library’.
- Document Security
Finally, security is required to be applied against the newly created Document Type for each employee’s security group within the Client Library under File > Maintenance > Security > Document Security. Select Employee from the Library drop down, select the relevant employee’s security group and apply the relevant conditions:

It is recommended that only the View permission column is ticked for the new Expense related Document Type.