eSign User Guide

System Requirements
In order to make use of eSign, the device CCH Central runs upon will require Microsoft Edge WebView2 Runtime to be installed. The latest update includes the MicosoftEdgeWebview2Setup.exe with a WebView2Setup subfolder, located in the CCH Central Deploy folder.
Where Microsoft Edge WebView2 Runtime has not been installed and a user attempts to make use of eSign, the following prompt will appear.
Clicking Yes will proceed to run MicosoftEdgeWebview2Setup.exe, download, and install from Microsoft. However, where the logged-in Windows User lack sufficient Windows Priveledges, the installation process will not succeed, in this situation, appropriate IT Personnel should be contacted to install this component for all users while logged in as a Windows Administrator.
eSign is supported with the use of PDF file types and with version 1.7 onwards.
Requires eSign Process
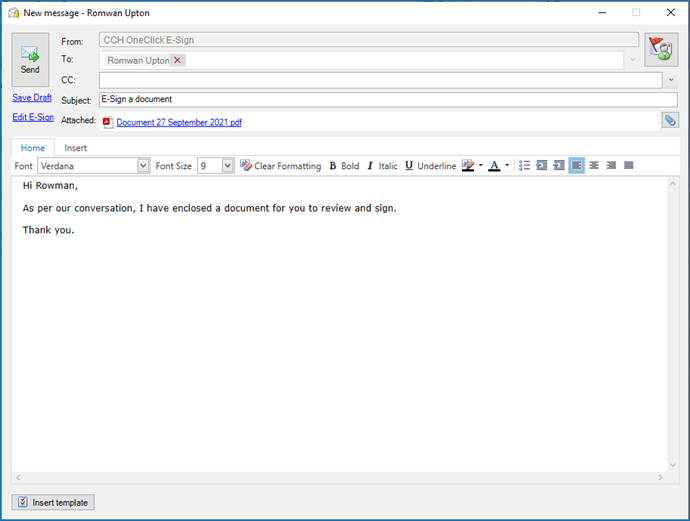
When attaching a document to a message, users will have the option to choose whether they would like the recipient to approve or eSign the document.
- Where multiple PDFs are attached to a message, eSign currently supports a Requires eSign request for a single PDF attachment per message. Nevertheless, all other attached documents can optionally be marked for Requires Approval, by the same sole recipient. It is also planned that in a future release the system will be enhanced to allow the request of multiple PDF documents for eSigning.
- Once Requires eSign has been ticked and all validation has been met, the To field will be disabled, preventing the inclusion of other recipients.
Attach files
In order to allow a document to be sent to multiple contacts to electronically sign, use either the Approval or the eSign process to individually set the action for each document:
A new column "Approval / eSign details" will be displayed within the Attach files window for Clients with multiple associated contacts. When marking a document for "Requires Approval" or "Requires eSign", users will need to specify which contact(s) will be approving/eSigning the document.
Requires Approval
-
The Order column is not applicable and the column's cells for each contact will be disabled.
-
The Action column will automatically be set to "Required" for each contact and users can change this to "Optional" accordingly.
NOTE: The radio buttons "All selected users must approve" and "Any user can approve" have been updated to "Required" and "Optional" respectively. Similarly, users can set Action per document to "Required" or "Optional". Where Optional is selected, the document is approved on a first-actioned basis, as per "Any user can approve".
Requires eSign
-
Order is used to determine the sequence in which contacts will be required to sign the document. By default, the Order will be set to "1" for all contacts signing the document, meaning any contact can sign in any sequence. Users can manually change the order by increasing the number of each contact in the list. Assigning the same number to two or more contact is allowed.
-
Action will automatically be set to "Required" for each contact, with is the only option at this stage.
NOTE: Where the action is set to "Required" all contacts will be required to complete all of the acrofields (editable fields) added to the document, relating to themselves.
Document Preparation
Upon attaching a document, ticking Requires eSign, selecting the contacts to sign the document via the Approval / eSign Details and clicking OK, a new Sign entitled window will open with the document visible as per the following example, where the Signature fields can be added for each contact: ![]()

Each contact will be highlighted in a different colour to easily distinguish between them when adding acrofields onto the document. Select a contact and then drag and drop the required acrofield onto the document where you want the contract to complete.
Once an acrofield is placed onto a document, you can also change the contact by selecting the Email drop-down under the Signature properties and choosing the relevant contact.
Once all appropriate acrofields are in place and edited as needed, click Save & Return to commit the changes and go back to composing and/or sending the message.
Each time the eSign window is displayed, users may briefly see the text 'Please wait while we prepare your document for eSign' on a grey background. The duration of this message is displayed is proportional to the time taken to upload the PDF to the eSign system. The very first instance the eSign window is displayed, this message will be displayed for a prolonged period while your practice's initial eSign setup is completed.
For each selected contact, users can either drag and drop or click one of the following fields and click to place them onto the document, where they would like the recipient to complete them:
- Name
- Signature
- Initials
- Date
- Check
- Text
- Numeric
- Alpha
- Alphanumeric
- Multi-Line
Placed fields' size and location can be adjusted as required, by selecting the field within the Document.
The option "Retain dimension for fields: Signature" allows users to resize the Signature field to their preference reducing the need to adjust the field every time you add it throughout the document. Simply check the box, add the signature field and resize it accordingly; this will then be retained in memory and be the same size the next time you add another Signature field throughout the document.
Once all appropriate fields are in place and edited as needed, click Save & Return to go back to finish composing and/or send the message.
Should users want to go back and amend the Requires eSign document, click on the link Edit eSign to reopen the document and make any changes.
Message Centre
Within Message Centre, the Approval Status column has been updated to differentiate between documents which are being approved and those being eSigned.
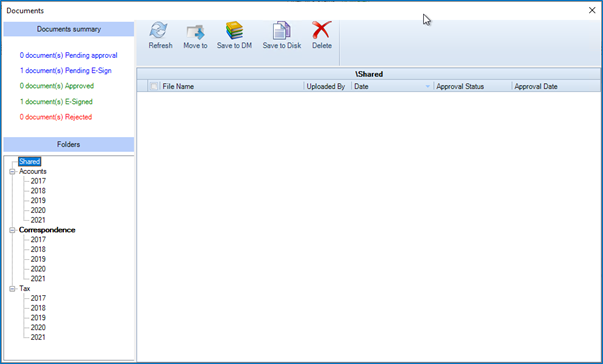
Addition Documents summary filters have been added to easily return eSign related documents, these now include:
- Pending approval
- Pending eSign
- Approved
- eSigned
- Rejected - (This include eSign Rejections)
Once the document has been signed by the client, the signed document will be available in the Message Centre for users to view and download.
Document Centre
In addition, to update the approval statuses within Message Centre, we have also updated the OneClick Approval statuses within the Document Centre to give users a clear view of the status of each document.
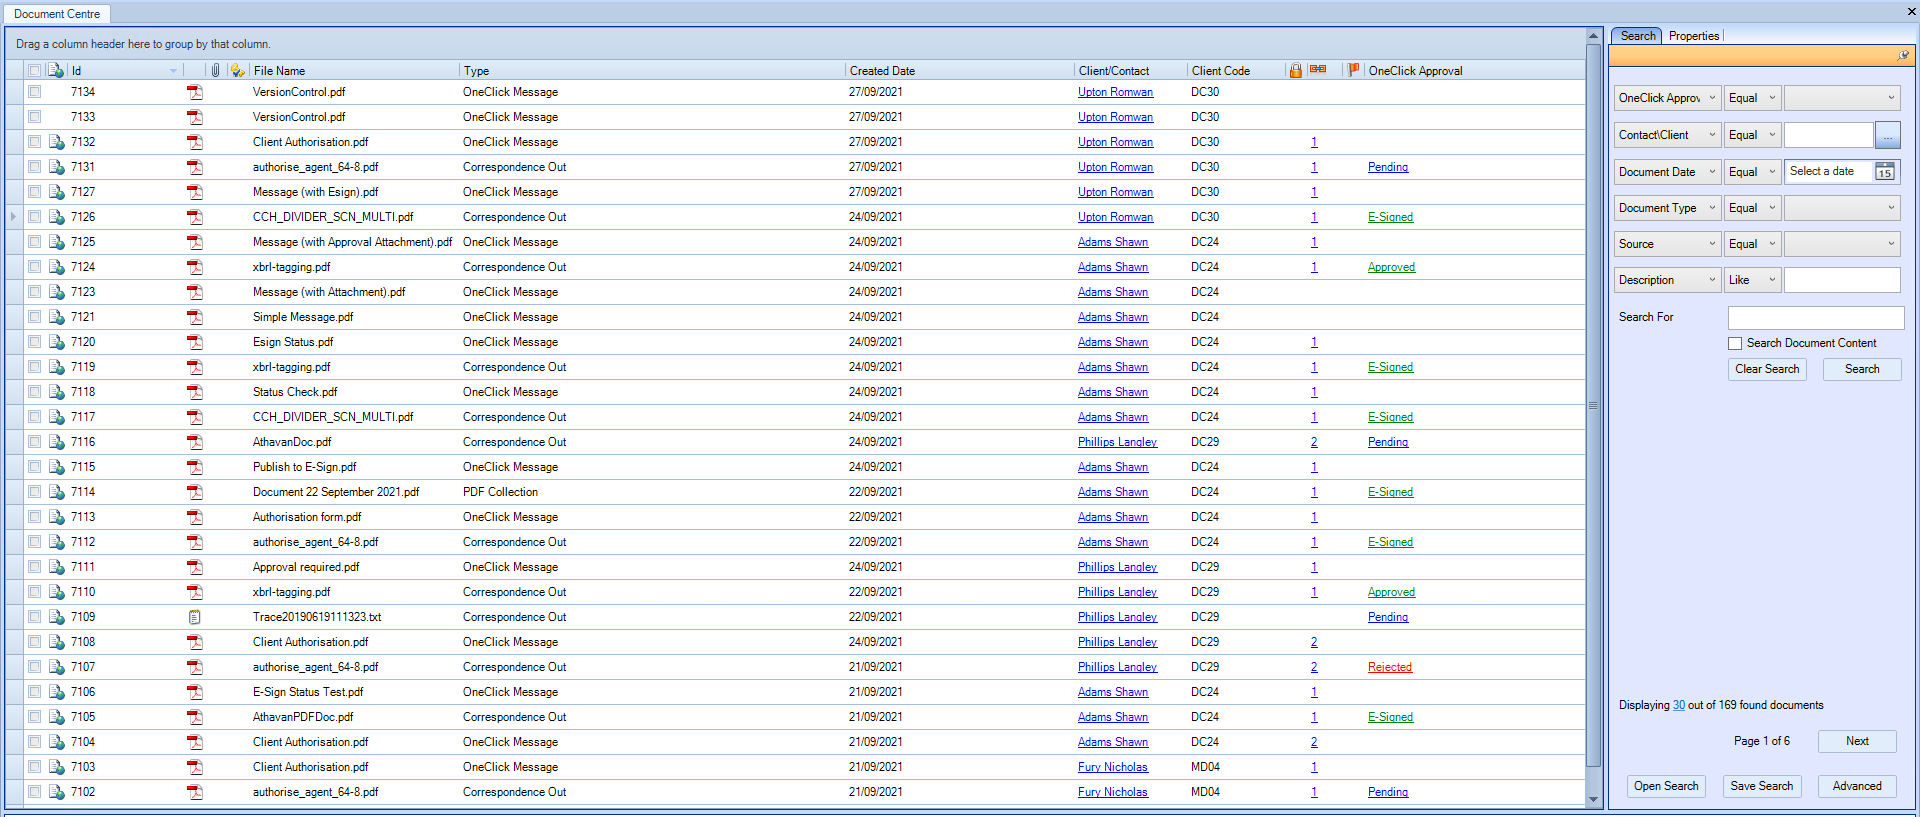
The OneClick Approval search filter has been updated to include the following statuses:
- Null
- Pending
- Approved
- Rejected
- Pending eSign
- eSigned
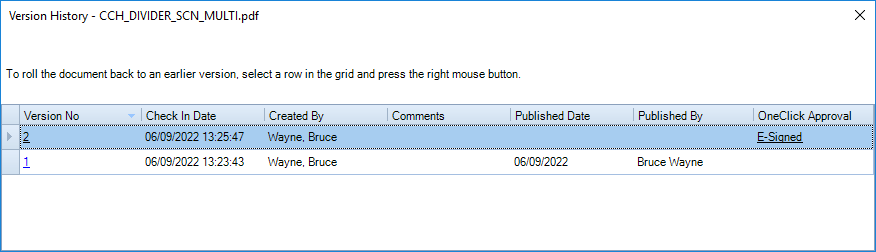
Once a client has signed a document, we automatically store eSigned documents in the Document Centre as a new version so you can view the original document prior to signing.
Email Templates
To support Multiple Signatories by ensuring each contact knows when to sign a document, we have added a new Email Template which can be accessed via File > Maintenance > OneClick > Email Templates:
When sending a document for eSign, an email notification will also be sent to the contact notifying them that there is a document for them to sign. Where there is an order set for each contact, the email notification will only be sent to the next contact in the list once the preceding contact has signed the document.
Internal Signatures
Partner/Employee(s) now have the ability to digitally sign documents within a CCH OneClick message. Practices can send documents to a partner or an employee (within the Client Team) of a client to electronically sign.
Attach files
When compiling a message, if a partner and/or employee(s) are included in a message, they will also be shown within the Approval / eSign details grid for a document which requires eSign.
Order is used to determine the sequence in which signees will be required to sign the document. By default, the Order will be set to "1" for all signees signing the document, meaning any contact can sign in any sequence. Users can manually change the order by increasing the number of each signee in the list. Assigning the same number to two or more signees is allowed.
CCH OneClick Advisor Workspace
When a Partner/Employee(s) logs in to OneClick and views their messages, messages with documents that require a signature will be highlighted with a red exclamation mark.
Within the message, they will now see an eSign button, along with the status reflecting the state the document is in:
Upon clicking the eSign button, the document will load showing the sections and areas in where a signature is required:
Hover the mouse over the field and click to apply your Signature. The system will use the Partner's/Employee's Forename and Surname to apply a pre-defined signature.
To change the pre-defined signature image, select the Signature field and click CHANGE SIGNATURE to view and select an alternative font type or to draw your own signature.
In addition, users can upload an image of a signature of their choosing.
Once the signature is applied, click ESIGN & SUBMIT to send the document to the next signee and return back to the message.
The signed document can be viewed and downloaded via the message once all signees have eSigned the document. In addition, we will automatically upload and store into the Document Centre the signed document once completed.
CCH OneClick Client Workspace
When Client users login into OneClick and views their messages, Document to approve or Documents areas, they will now see an eSign button, along with the status reflecting the state the document is in:
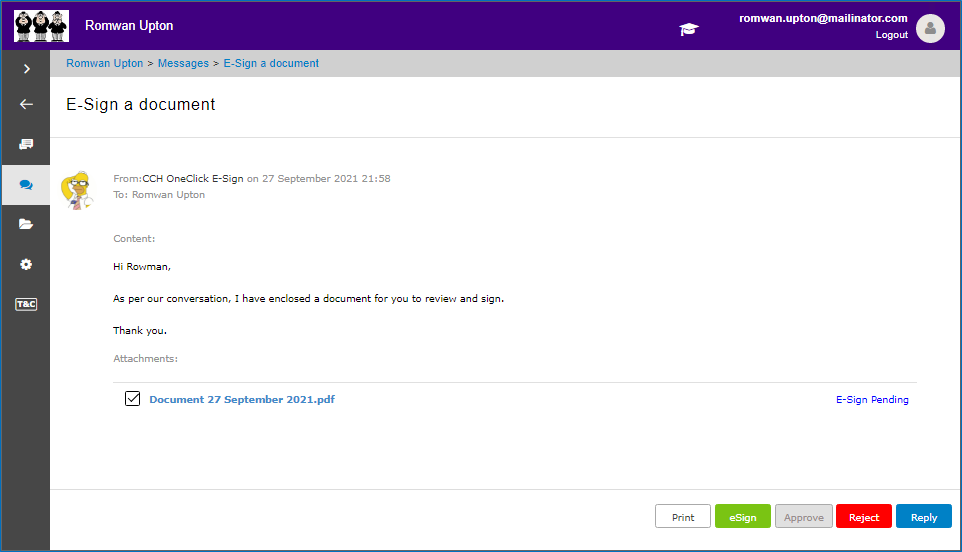
Upon ticking the eSign Pending document and clicking the eSign button, the document will load showing the sections and areas in where a signature is required:
Hover the mouse over the field and click to apply your Signature. The system will apply a pre-defined signature using the contact's Forename and Surname.
To change the pre-defined signature image, select the Signature field and click CHANGE SIGNATURE to view and select an alternative font type or to draw your own signature:
In addition, users can now upload an image of a signature of their choosing.
The signed document will be updated and the client can view and download it via the message and from the Documents folder within CCH OneClick.