Creating Email Templates - HTML format

1. Create a New Email Template
Click on the Email Templates icon shown below. This can be found on the task bar when you access the  or
or  option on the toolbar.

Clicking on this option launches the Email Template window in a separate tab. This window displays a list of all the saved email templates. From this window, you can also copy, rename and delete templates.
Click on the Create option to set up an email template from scratch.

The following tab opens and you can then create an HTML email template. The details of how to fill in each field are below.
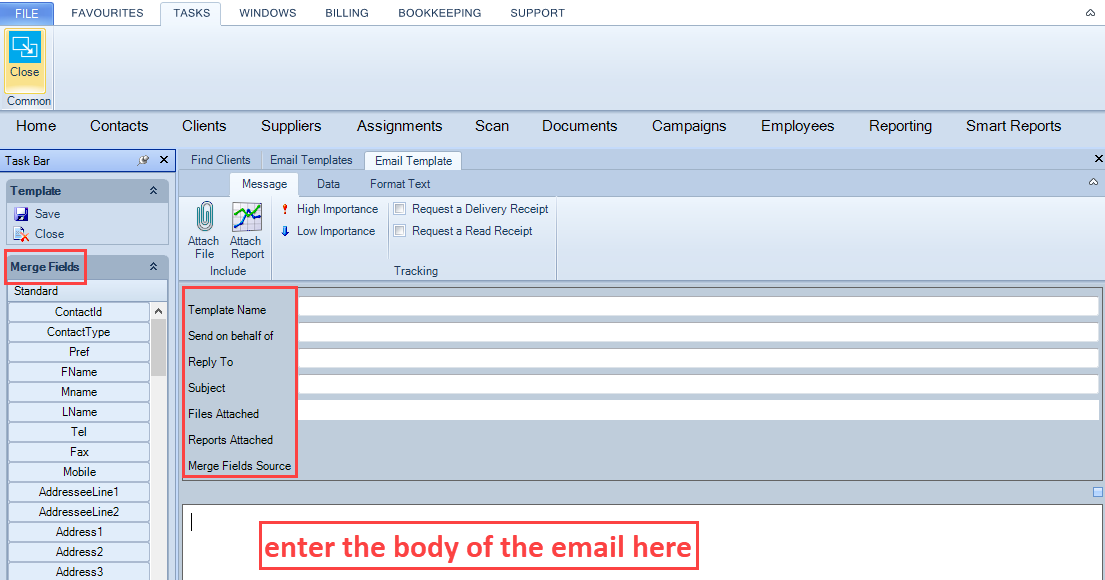
2. Template Name
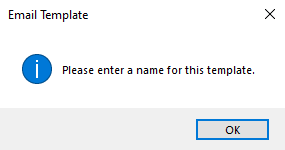
The Template Name is a mandatory field which needs to be inserted. If this field is left blank, the following warning message will be displayed when the template is being saved:
You can create multiple templates which appear in the Email Templates tab as shown in the screen shot below i.e. Debtor statement template.
All the templates that have been created are made available for selection when you run the Mail Merge wizard to send out an email to a list of contacts or clients.
All the templates that have been created are made available for selection when you run the Mail Merge wizard to send out an email to a list of contacts or clients.
3. Send On Behalf Of
This option allows you to send emails on behalf of another person. In this field, you will need to insert the email address of the person that you want the emails to come from. When the recipient receives the email, it appears to be sent by the person who has been setup as the individual in the Send on Behalf of field.
In order for this option to work, there are permissions that need to be setup in Microsoft® Outlook® which enables someone to send emails on behalf of another person. For further information on permissions see Setting up Permissions for Send on Behalf in Outlook.
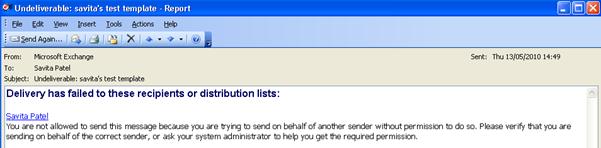
If the permission has not been setup in MS Outlook to enable users to send emails on behalf of others, when an email merge is sent out to a list of contacts and clients, the person sending out the email will receive an undeliverable email message notification – as shown in the screenshot below:
4. Reply To
In the Reply To field, you can specify an email address for all replies to go to. When the recipient receives an email and clicks on the Reply option within the email, instead of the email being replied to the sender, it will be replied to the email address provided in this field.
5. Subject
The subject field is not a mandatory field. If this field is left blank, all emails that are sent out will have a blank Subject. It is therefore recommended that when creating a template, this field is inserted. The Subject field should be generic and applicable to all recipients.
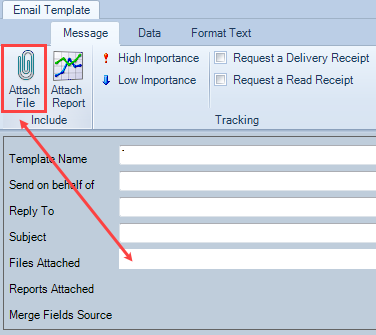
6. Files attached
There is an option available to enable you to attach files to the email template on creation or editing. All the attachments will be copied to the email that is sent out to the selected list of contacts and clients. To attach a file which is on your network click Attach file.
7. Attach Report
There is an option available to enable you to attach a Report to the email template on creation or editing.
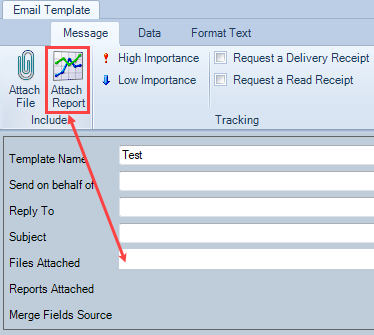
When you create an email merge where the attachment is a report from CCH then select Attach Report from the Message ribbon, the following Select Report box is returned.
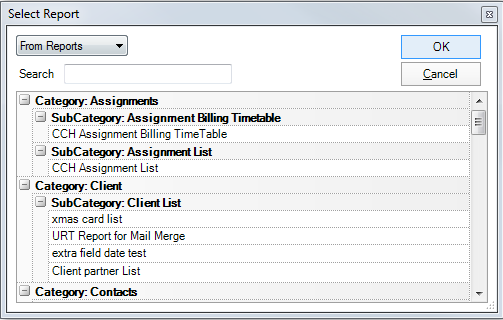
Search for the required report using the search box, select the report from the list and then click the OK button to attach the specific report.
You can create, for example, a template email to send out Debtor Statement to clients if you have CCH Practice Management licence. For more information on how to create this template please check this link: https://wkuktaa.secure.force.com/knowledgebase/articles/Article/6365
Only one report can be attached per template.
8. Central Merge Fields
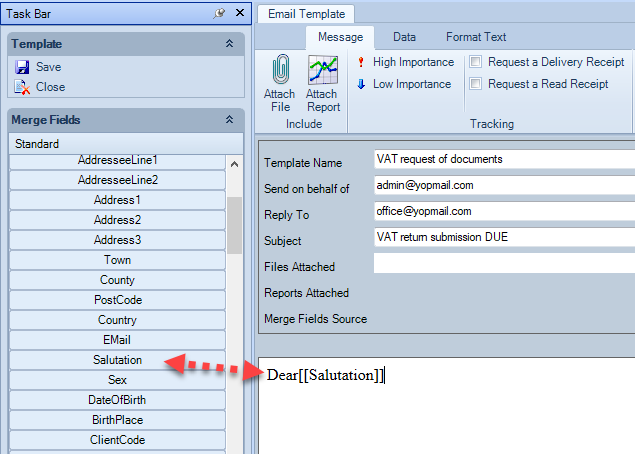
The Merge Fields grid on the left hand side of the screen presents you with the merge fields from Central. The Standard section provides a list of merge fields, including Extra fields that can be added into an email that is sent out to the selected list of contacts and clients.
Double click the relevant field to add into the body of the email.
For example write the word 'Dear' and double click on the field Salutation. The email generated from the Mail Merge wizard will contain the word 'Dear' and then the salutation of each contact and client selected.
MESSAGE FORMAT TAB
There are more options to set the format of the email template as show on the screen shot below.
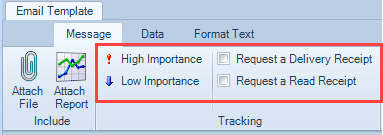
Importance
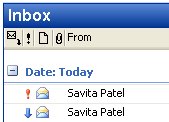
By default, the Importance field on a template is set to ‘Normal’. Changing this to ‘Low’ importance will result in emails sent using this template being tagged with a blue arrow. Changing this field to ‘High’ will tag the emails with a red exclamation mark – as shown in the screenshot below:
Request a Delivery Receipt
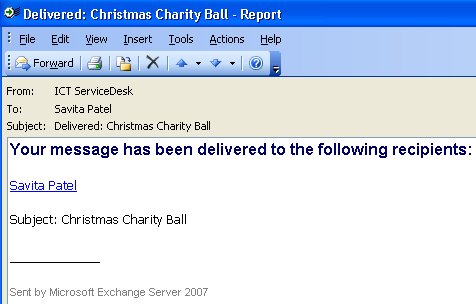
This check box option is used when the sender of the email wants to be notified when the email has been received by the list of contacts and clients it was sent to. When this option is ticked, the sender will receive multiple emails depending on the number of recipients the email has been sent out to. These emails are sent from the recipient’s mail server – see example below:
Request a Read Receipt
This check box option is used when the sender of the email wants a notification when the email has been read by the recipient. If this option is ticked, the recipient will receive the following message when they open the email.
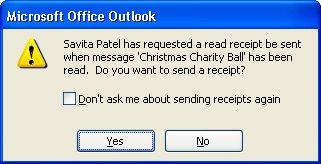
The recipient has the choice to send a receipt or ignore it. If the recipient clicks on the No option, the sender will not be notified that the email message has been read. If the recipient clicks on Yes, then the sender will receive a notification similar to the example below:

MESSAGE DATA TAB
Allows you to explain the merge fields you can use in a template email using Smart Reports and Tax Explorer.
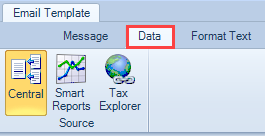
Central icon:
Clicking on Central icon to use the Merge Fields grid on the left hand side of the screen presents you with the merge fields from CCH Central. The Standard section provides a list of merge fields, including Extra fields that can be added into an email that is sent out to the selected list of contacts and clients.
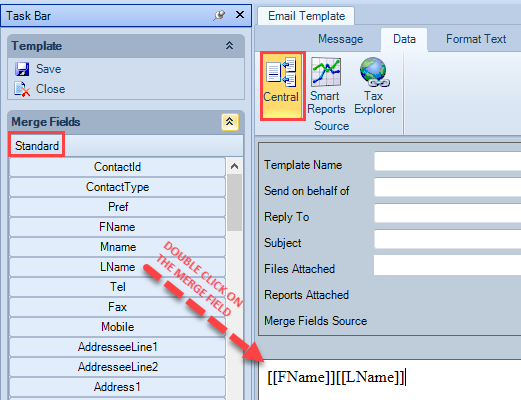
Double click the relevant field to add into the body of the email.
Smart Reports icon:
Clicking the Smart Reports icon opens the 'Select Report' window to enable the user to select a saved report.
Once a report has been selected, the report is displayed within the Merge Fields Source line. To display the merge fields from the selected Smart Report, select the From Smart Reports option found on the Task Bar at the bottom of the Standard category as shown below.
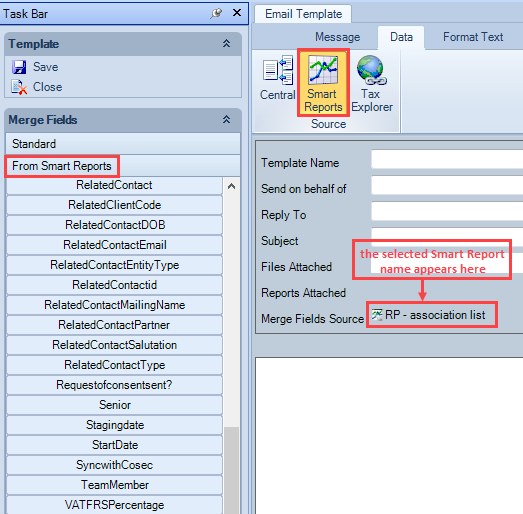
Only one report can be attached per template.
The Smart Reports fields displayed are dependent on what Smart Report layout was originally selected.
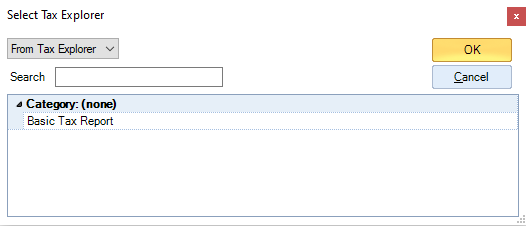
Tax Explorer icon:
Clicking the Tax Explorer icon opens the 'Select Tax Explorer' window to enable the user to select a saved tax reporter report.
Once a report has been selected, the report is displayed within the Merge Fields Source line. The display the merge fields from the selected Tax Explorer report, select the From Tax Explorer option found on the Task Bar at the bottom of the Standard category as shown below:
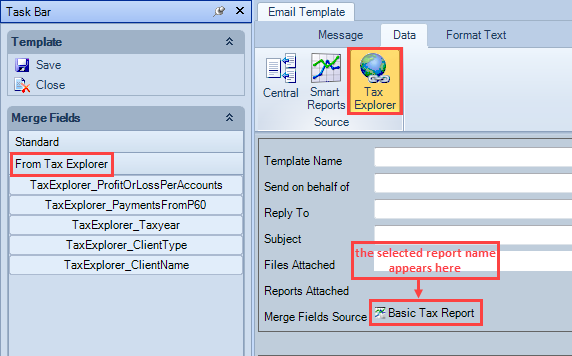
Only one report can be attached per template.
The Tax Explorer fields displayed are dependent on what Smart Report layout was originally selected.
MESSAGE FORMAT TEXT
You can also format the text of the email template using the options below.

| Option | How to Use |
|---|---|
| Clipboard | Cut, Copy, and Past Options |
| Format | Format the email contents into HTML or Plain Text |
| Basic Text | Customise text style |
| Insert | Insert picture, create hyperlink e.g. link to website or tracked linked for displaying reporting data. Explained in details below. |
| Editing | Undo and redo recent actions, find text and perform a spell check. |
Insert Hyperlink
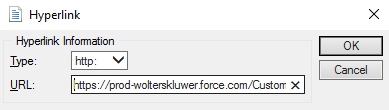
A hyperlink can be inserted in a template by clicking on the Insert Hyperlink option. To insert a hyperlink, you will need to type in a name of the website (URL). Click on the OK button to insert this URL into the template. When a recipient receives the email with a hyperlink in it, they will be able to launch the hyperlink directly from the email.
The Hyperlink dialog is below:
Insert Tracked Hyperlink
If you want to track if the recipient of your email has clicked on a particular link on the email, there is an option within the template to create a tracked hyperlink. To insert a tracked hyperlink click on the Insert Tracked Hyperlink option  on the Format Text tab. The following dialog box is returned:

The URL link that you want to track will need to be inserted in the URL field. The Description field is where you will type in a description that you would want the recipient of the email to see and click on (see the example above). The following message appears when a the email tracking configuration key is not present within the CCH Central maintenance area.
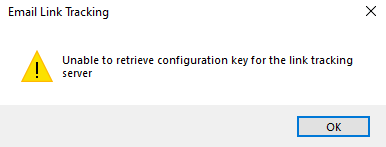
To use this feature your system administrator should proceed with the email tracking setup.
Insert Picture
Click the Insert Picture option on the Format Text tab to insert pictures into the template. The Picture dialog appears:
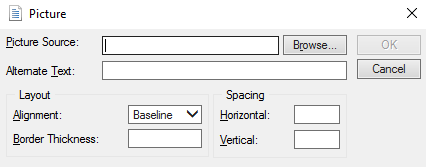
To select an image, click the Browse button next to the Picture Source field. You will be able to browse and select image files (gif, jpeg, bmp). In the Alternate Text field, you can type in a description which will be used as a tool tip when you hover over the picture in the email that is sent. The Layout and Spacing sections within the Picture dialog allows you to set borders, alignment and spacing for the picture being inserted. Once inserted, click on the picture to select, then to resize select the corner boxes and drag to the desired size.
Saving a Template
To save a template, you will need to click on the Save button on the Email Template creation window. The Template Name is a mandatory field that needs to be inserted before a template can be saved. All other fields within this window are not mandatory. However if the Email Subject field is not inserted, all emails that are sent out will have a blank subject when it is delivered to the selected contacts.
After clicking on the Save button, you will be taken back to the Email Templates window where all the saved templates are shown. The template email will be now available when you run Mail Merge Wizard.