Printer Fonts

When Audit Automation is launched, it will default to using the Windows default printer. To change the printer to which printing is directed, whilst in a pack, click on File followed by [Print set up]. The Windows Print set up dialog box will appear and you may select the default printer by clicking on the drop down and all available printers will be listed.
You may change the orientation of print by clicking on the Portrait or Landscape radio buttons and the paper size and source by selecting from the drop-down list. However, for many reports Audit Automation will override the default recorded for the printer.
Clicking on the [Properties...] button will display the print options relevant to the selected printer. For more information about these refer to your printer manual.
Once you have selected the printer to which you wish to direct the printout, click on [OK] and the system will close the dialog. If you do not wish to action the changes you have made, click on [Cancel] and the system will retain the previously installed printer.
It is also possible to change the printer when selecting a report to print. Further information on how to do this is contained in the section of the manual dealing with printing reports.
Once a printer has been selected, either from the menu, or when printing reports, the selected printer will remain in use for subsequent reports, until another printer is selected, or you exit from the program.
Printer fonts
Audit Automation allows the user to select the fonts and point size used to print the following:
* Journals
* Code lists
* Audit programmes
* Checklists
* Planning schedules
* Internal Word Processor default font
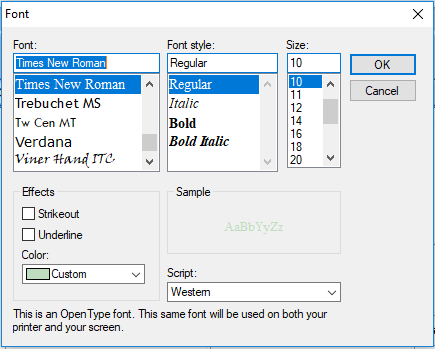
To change a font in use, on the File menu of the Pack window, click on the [Fonts] button and select the area you want to change. The standard Windows Font dialog will appear for you to choose from.

