CCH Audit Automation main window

On launching CCH Audit Automation, the “loading” banner will be displayed for a few seconds followed by the CCH Audit Automation Main window.
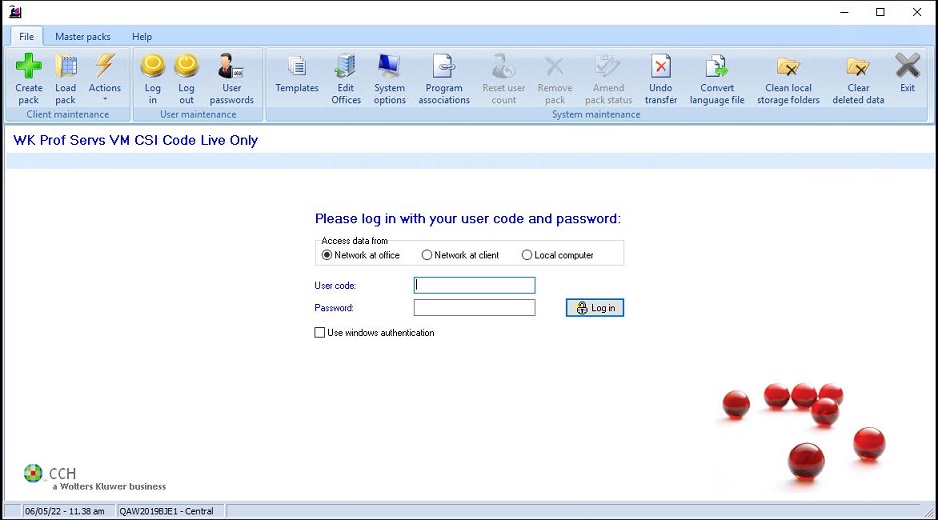
CCH Audit Automation main window
CCH Audit Automation is a multiple document interface (MDI) program where you may have more than one “child” window open and these windows reside within the work area of the CCH Audit Automation Main window, see below. CCH Audit Automation does not have to occupy the whole of your screen and you can resize the window by clicking on the [Restore] button displayed at the top right of the window. You may also resize the CCH Audit Automation window by dragging the borders, refer to your Windows manual if you do not know how to do this. CCH Audit Automation will remember the mode last used and start up displaying the Main window in the same format on subsequent runs.
The Main window contains the following:
Menu bar
The menu bar contains three menus:
• File
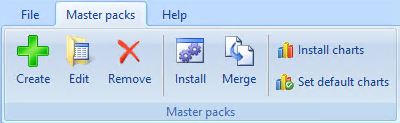
• Master packs
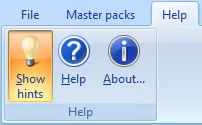
• Help
The File menu provides access to the routines needed to control access to the software, load and manage clients and users. The Master packs menu provides access to the routines required for creating and editing master packs and the Help menu provides access to the both help and other sources of information.
Hints
When Show hints is active, the Show hints button is highlighted in the Help menu and fly out descriptions of buttons and other controls will be displayed if the cursor is left hovering over them for more than a second. To toggle hints on and off, click on the Show hints option of the Help menu and then relaunch the application and the item will be toggled into the opposite state. CCH Audit Automation will remember the state of Show hints from one session to the next.
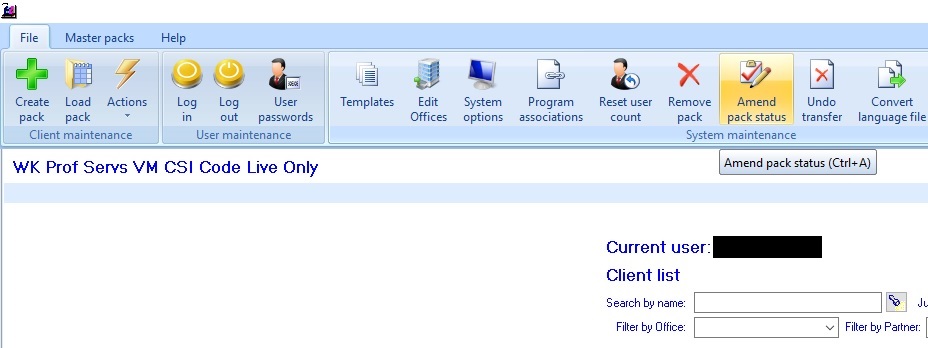
Ribbon

To add or remove a toolbar, point to the toolbar area and press the right mouse button. A pop up menu will appear listing available toolbars and a tick is shown by each toolbar that is currently displayed. Select the name of a toolbar to add or remove it. The reset option restores the system to just show the default toolbars in their default positions.
The default settings at the system level show the File, Master Packs and Help tool ribbons with the File toolbar fully expanded showing all options. The Master Packs and Help toolbars are on separate tabs.
Toolbars can be moved by dragging the toolbar name. You can drag this to the left and right to reposition the toolbar on the line, or up and down to move the toolbar from one line to the next. By default, two lines of toolbars are shown, but you can create further lines by dragging a toolbar down below the last line.
As you move the mouse over the toolbar buttons, the prompt in the status bar will display the button’s function. If you hover over a button for a few seconds a pop up hint will also appear. This may help if the whole toolbar doesn’t fit the screen in which case it will either show smaller icons and description, or if even less space is shown only small icons are displayed.
Toolbars
If you are not using the Ribbon menu the toolbars can be repositioned and can be shown or hidden to meet your needs. It is also possible to customise the toolbars and create your own custom toolbars for commonly used options.
Navigation panel
When a pack has been opened CCH Audit Automation displays a navigation panel on the left of the screen. This shows a tree containing options. To select an option, double click on its name. At the system level, the options shown replicate the system menu structure. This feature makes it much easier to navigate around the system and open windows
Hiding the navigation panel and changing its width
The navigation panel can be hidden using the [Hide] button,  . When you click on this button, the panel will be hidden to the left of the screen providing more space for the child windows to be displayed in the work area. To bring the panel back into view, move the mouse off the left of the screen. To unhide the navigation panel use the
  when in unpinned mode.
You may change the width of the navigation panel by dragging the vertical divider between the panel and the work area.