Image Library

Image Library
To access the image library navigate to: File > Maintenance > Accounts > Images
The Image command can reference a specific image file from a local location. However, it is possible to create a "library" of images, which will be stored within the CCH Accounts Production database for use.
The advantage of the image library is the images will be accessible by any CCH Accounts Production user from any laptop or workstation, which can run CCH Accounts Production, and the image will also be available if the data has been travelled out.
Adding a new Image to the Library
To add a new image to the library, click in the data input row 'Click here to add a new image'.
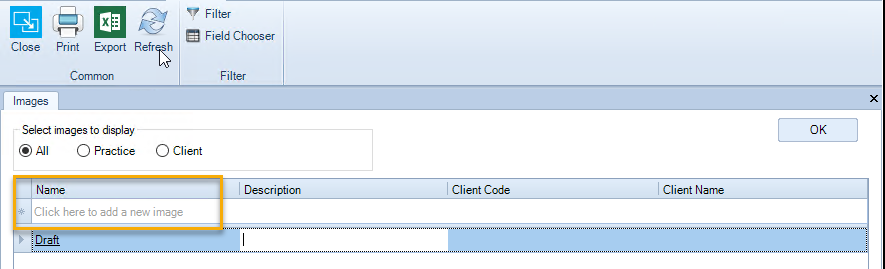
Then select the ellipsis button to browse for the image file, choose the correct image type (jpeg, jpg, png, and bmp files).
- The Image Name which will appear in the library and be used in the Image command defaults to the image filename.
- This default can be amended by editing the "File name" field in the Select Image to Upload screen.
- You can then enter an optional Description for the image to help you remember what the image relates to.
Press Enter to finish adding the image into the database.
Images added using this maintenance screen are created as "practice" images. This means that they can be added to any accounts job in the database.
Adding a Client Specific Image
To add an image which can only be used for a specific client, these images are added as follows:
- Open the Client, enter the Accounting Period, then go to the Financial Statements screen.
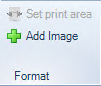
- Open any format, e.g. the front cover, click Add Image from the ribbon.
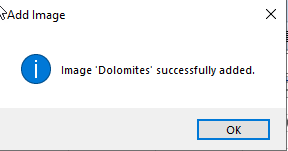
- Browse for the image file, remember to choose the correct image type (jpeg, jpg, png and bmp files), select the file and click "Open", a message box will appear indicating this has been successful.
- The result is that the Image Name will appear in the library for that Client. If the screen is already open click on the Refresh button on the ribbon. The screen may be filtered so that just the Client images are displayed using the radio button, see screen shot.

- Enter the Image command onto the format, e.g. =IMAGE("Logo","100%","Page","Right","Top","1cm","1cm"), edit to show the file Name uploaded, in this example change Logo to Dolomites, save the format and the image will be displayed. Manipulate the formula so that the image is displayed to the correct position and size. For more information relating to the Image Command click here: Image Command
- Example of an image on the front cover
