CCH Backup and Restore Utility (User Guide)

Overview
This user guide provides step-by-step instructions for the interaction with the CCH Backup and Restore Utility version 6.0.1. One of the reasons for the release of version 6.0.1 is that previous versions of the Backup and Restore Utility do not support SQL 2008 Express.
Prerequisites
The following prerequisites should have been complied with at installation to ensure that the product functions correctly:
- The user installing/configuring the CCH Backup and Restore Utility must have administrator rights to the server that the utility will be installed to
- If you need to back up a selection of databases over multiple servers you will need to install the utility separately on each server
The Backup and Restore Utility can be accessed from the Desktop using the shortcut created during the install.

You will be presented with the login window asking you to choose the SQL instance you would like to access.
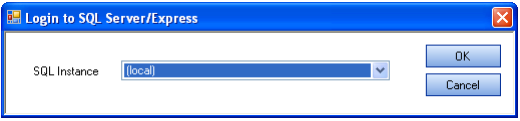
Note: When you installed the utility you would have been asked for a username and password to use at login. The user specified must have administrator rights to the PC for the Backup and Restore Utility to function successfully.
Choose the instance to be accessed from the drop-down list and click the OK button to open the Backup and Restore Utility.
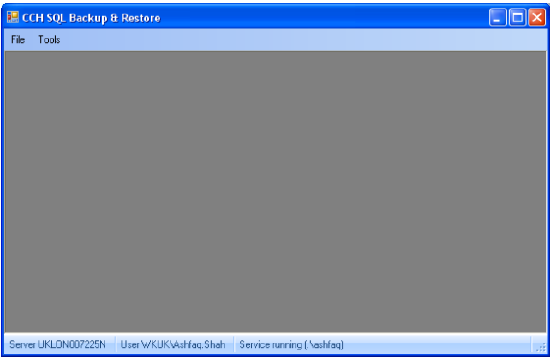
The Backup and Restore Utility functionality allows you to:
- Restore a database
- Schedule backups
- Do an ‘on demand’ database backup
- Create the Central user
- Manage the Service Setup
Restore a Database
The File > Restore Database option allows you to restore a database using a backup file.
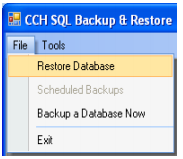
- Choose the File > Restore Database option. The Restore Database window opens.
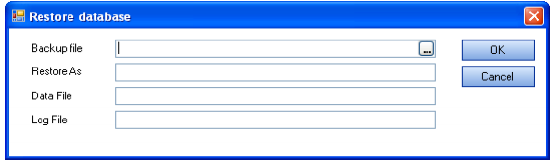
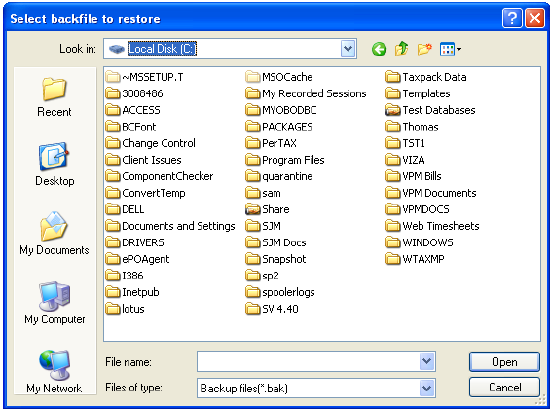
- Identify the backup file to be used by clicking the ellipses button in the Backup file field. This opens the Select backfile to restore window, which allows you to identify the relevant backup file.
3. Choose the backup file. The system recognises the database that the backup file is associated to and automatically populates the rest of the fields.
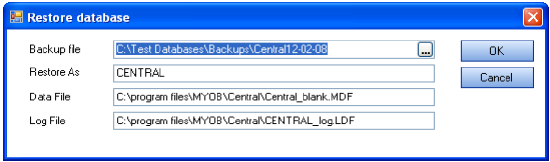
Restore As – This is the database name that will be restored using the file specified in the Backup file field. If this is not the database that you would like to restore delete the database name and type the name of the database required.
Data File – This is the location of the data file associated with the database. If the path is not correct, click in the field and change the information to point to the correct data file path.
Log File – This is the location of the log file associated with the database. If the path is not correct, click in the field and change the information to point to the correct log file path.
4. When you are satisfied with the information provided, click the OK button to restore the database. You will see a status bar at the bottom of the window indicating the progress of the database restoration.

5. When the backup is complete, click the Cancel button to close the window.
Schedule a Backup
To schedule a backup to run at a regular interval, use the FileScheduled Backups menu option.
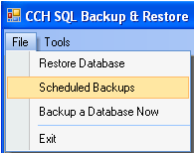
If the Scheduled backup option is greyed out in the menu then you will need to set up the service before you can proceed.
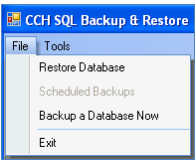
The service sets up the database where the schedule backup information will be stored.
Note: If you want to use the homepage control to track the status of your backups it is recommended that you specify the Central database.
To set up the service, see the Service Setup section of this document. Once the services are set up correctly, you will be able to proceed with the process to schedule a backup.
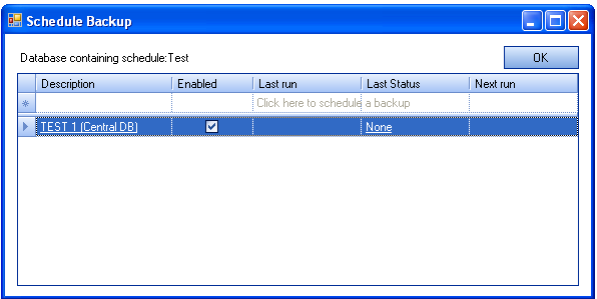
1. Click the File > Scheduled Backups menu option to open the Schedule Backup window.
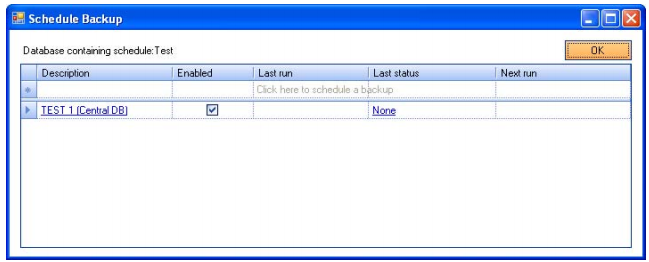
The database that contains the scheduled information appears at the top of the window. In the example above the database is called Test. The Schedule Backup window has the following fields:
- Description – Specify a unique description for the scheduled backup to identify it. This field accepts a maximum of 64 characters.
- Enabled – When the check box is selected the schedule backup will run at the set interval. To stop the scheduler, clear the check box.
- Last run – The date and time the scheduled backup was run.
- Last Status – The status for the last run backup.
- Next run – The date and time that the next run is scheduled for.
2. To create a new schedule click in the Description field. The Schedule Backup window appears.
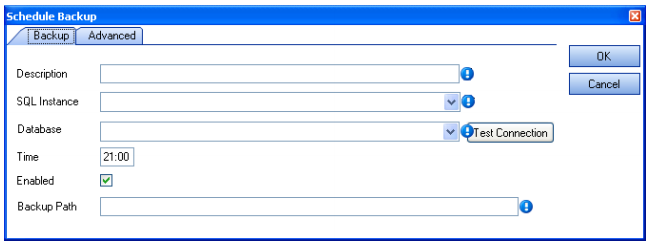
The default view is the Backup tab and you can provide the following information:
- Description – Specify a unique description for the scheduled backup to identify it.
- SQL Instance – For PCs running more than one SQL instance; use this drop-down list to select the relevant SQL instance.
- Database – Choose the database that you would like to backup from the drop-down list provided.
- Test Connection – Use this button to test the connection to the database specified. If the connection is successful you will be presented with the following message:
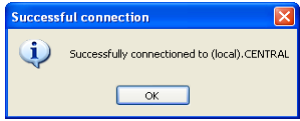
Where (local) indicates the SQL instance and CENTRAL is the database specified - Time – Select the time the database backup will run at.
- Enabled – When the check box is selected the schedule backup will run at the set interval. To stop the scheduler clear the check box.
- Backup Path – Specify the path where the backup file will be stored. Click the Advanced tab to display the advanced options:
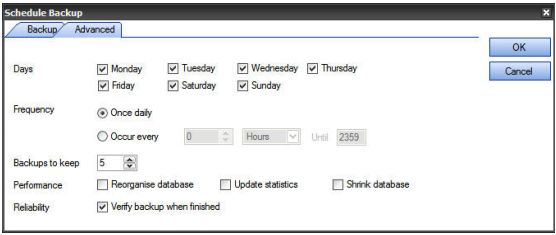
The Advanced tab allows you to specify additional information for the backup schedule: - Days – Select the check boxes for the days you want the database backup to run.
- Frequency – Sets up the frequency that the backup will run.
- Once daily – The backup will run once a day at the specified time (specified on the Backup tab).
- Occur every – Use this option if you want the backup to run multiple times every day. Use the first input box to specify the frequency and the second box to specify if that frequency should be applied in minutes or hours. Use the Until field to specify when the last backup in the frequency should run.
- Backups to keep – If this is left as zero all the backups will be kept. Change this number to only keep the specified amount of backups. For instance, changing the Backups to keep field to 2 will result in two backups that will be saved in the folder specified on the Backup tab.When the third backup is done the oldest of the backups will be deleted to ensure that only 2 most recent backups are kept.
- Performance – Leave the Reorganise Database and Update statistics boxes selected to defragment the database when each backup is done. This optimises performance.
- Reliability – Select the Verify backup when finished check box. The database integrity will be tested when the backup is finished to ensure that the backup has been completed successfully. If the verification fails the backup will be marked as unsuccessful.
3. Once you are satisfied with the information provided click on the OK button to save the scheduled backup or click the Cancel button if you don’t want to save the scheduled backup. When you click on the OK button you will be taken back to the Schedule Backup window where you will see the newly created backup schedule:

4. Click the Description to open the schedule details for editing.
5. Click the Last Status field to open the history for the backup schedule.
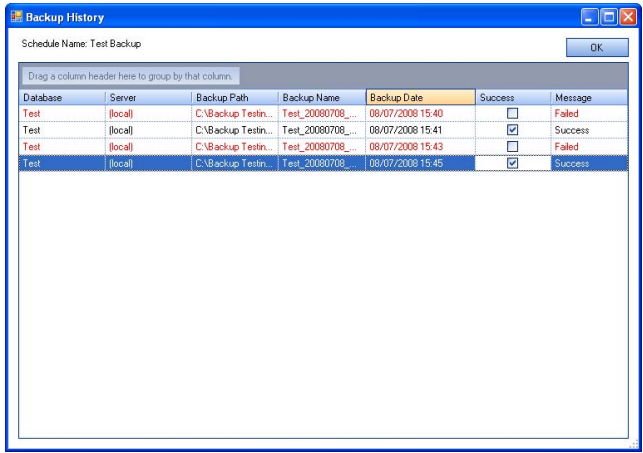
The following fields appear:
- Database – This is the database name that is being backed up with this backup schedule.
- Server – This is the server name the database is located on.
- Backup Path – The backup path specified when the backup schedule was created.
- Backup Name – The unique name given to identify the backup schedule.
- Backup Date – The date and time the last backup was attempted.
- Success – A tick indicates a successful database backup.
- Message – The reason for the failure, in case of one, of the database backup appears here.
On Demand Database Backup
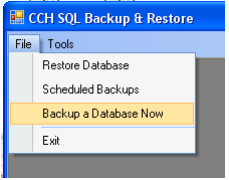
1. To perform an ad hoc database backup use the File > Backup a Database Now option:
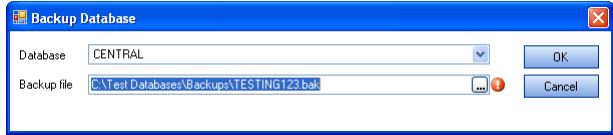
The Backup Database window appears:
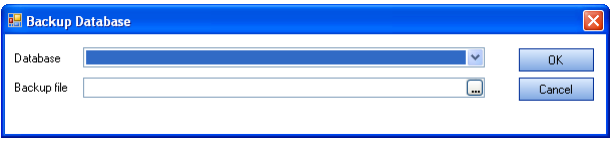
2. Choose the database from the drop-down list that you would like to back up.
3. In the Backup file field, specify a location for the backup file to be stored by clicking on the ellipses button. The Backup to file window appears:
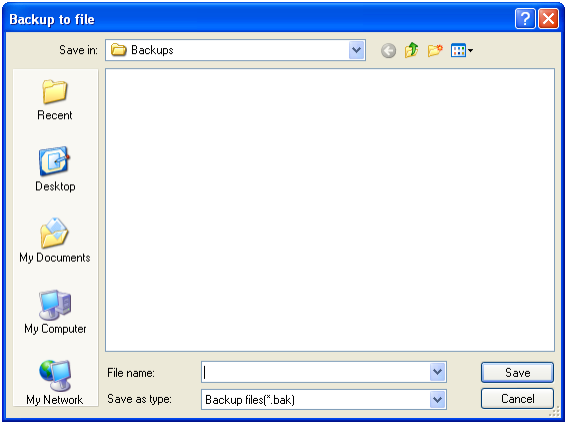
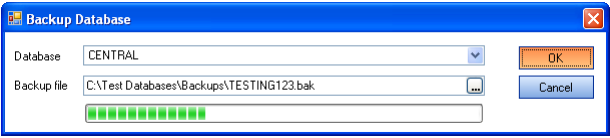
4. Chose the location and file name and click the Save button. You will be taken back to the Backup Database window with the information entered.
5. If you are satisfied with the information provided, click the OK button to start the backup. A progress bar appears at the bottom of the window
When the backup is completed successfully a message appears.
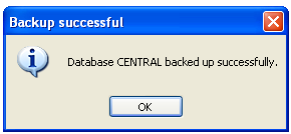
6. Click the OK button to close the window. The database backup is stored in the path specified.
Create the Central User
The Tools > Create Central User enables the creation of a Central database user.
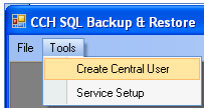
This is necessary for Central to login to a chosen database. It may be necessary to run this when a database that Central uses has been restored from backup.
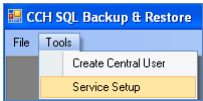
1. To create the Central user click on the Tools > Create Central User menu option.

The Server field indicates the server instance that you are logged in to.
2. Choose the database from the drop-down list that the Central user will be created for and click on the OK button to create the Central user. A confirmation message appears:
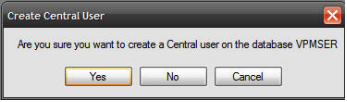
3. Click Yes to create the Central user.
Manage the Service Setup
The first time you use the Backup and Restore Utility you need to set up the database where the information for the scheduled backups will be stored.
Note: If you want to use the homepage control to track the status of your backups it is recommended that you specify the CCH Central database.
1. To open the Service Setup window go to the Tools > Service Setup menu option.
The Service Setup window appears.
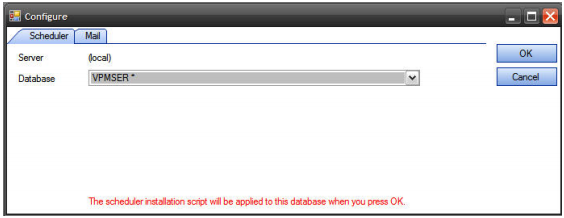
- The Server field displays the server that was chosen at login. If this is not the server you expected please log out and log back in making sure that you choose the correct server instance.
- Choose the database you would like to use to save the schedule information to from the dropdown list. Please note that if you intend to use the homepage control to track the status of your backups; this should be the CCH Central database.
2. When you are satisfied with the server and database information click on the OK button to create the services. The following message appears.
3. Click Yes to proceed. As soon as the services are created the window closes.
If you are not going to use the CCH Central homepage control to track the status of scheduled backups you can use email alerts on the status of the backups.
Note: An email will only be sent if the backup fails, not when it is successful.
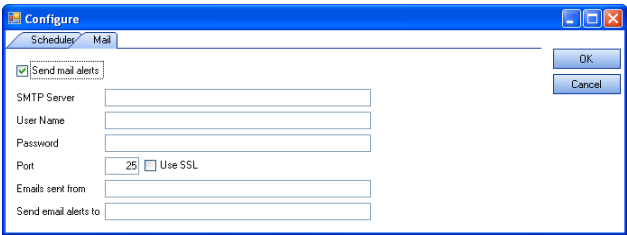
Select the Send mail alters check box to enable the entry fields. Supply the following information:
- SMTP Server – SMTP (Simple Mail Transfer Protocol) address of the mail server in use
- User Name - Domain name and user name used to log in to the mail system
- Password - Password used to log into the mail system
- Port – Port used by the mailing system
- Use SSL – Select if your mail system uses SSL (Secure Socket Layer)
- Email sent from – Put in a description to show in the From field in your email inbox.
- Send email alerts to – The email address of the person that should receive the alerts
Central Homepage Control
For sites running CCH Central users have the option to view the history information created by scheduled backups in a homepage control.
Please see the Manage Service Setup section for details on how to set up the database information that will be displayed in the CCH Central homepage control.
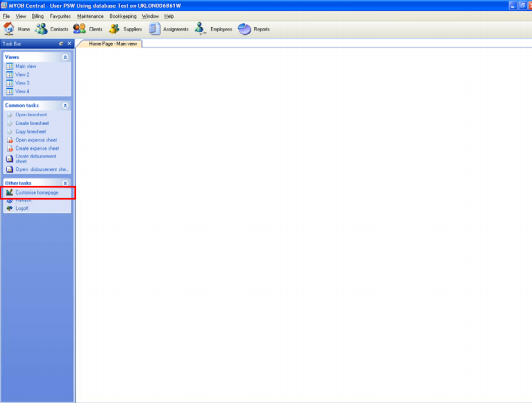
1. To set up the homepage control in Central click the Customise homepage option in the Other tasks task bar option on the homepage: The Homepage Toolbox appears:
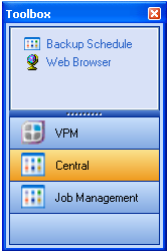
2. Click on the Central option and drag the Backup Schedule homepage control to the selected homepage.
Note: If the Schedule Backup option is not available in the Central section, the software for the homepage control needs to be installed. Please see the CCH Backup and Restore Utility Installation Guide for details.
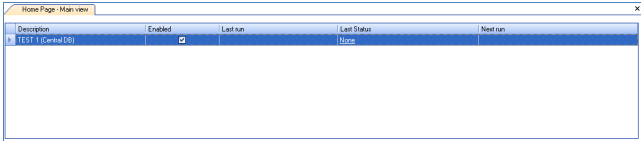
The homepage control displays the same information available in the Schedule Backup window
and allows you to click on the Last Status field to display the history information.
Troubleshooting
If you have issues stopping and starting services in the Control Panel > Administrative Tools > Services window, follow the steps below to clear the Events log. Please contact CCH Customer Care & Support before following these steps.
1. Click Start> Control Panel > Administrative Tools > Event Viewer:
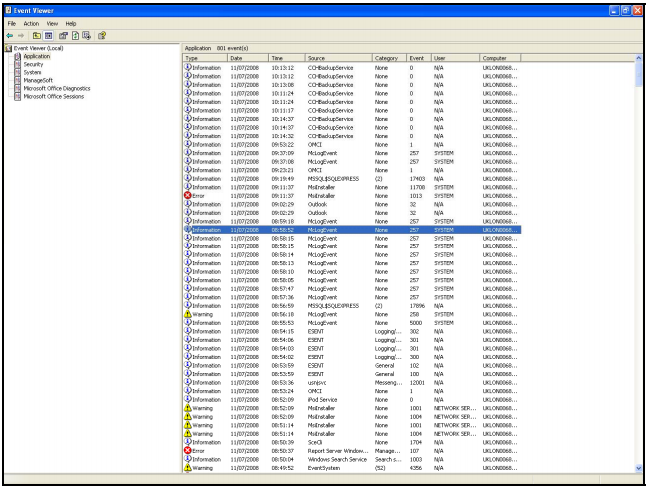
2. Right-click on the Application option, and choose the Clear all Events option:
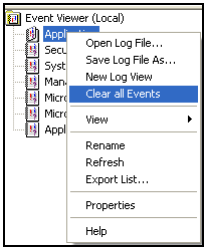
This will clear the events log and you will be able to start the CCH Backup & Restore utility in the Services window.
3. If the problem persists, change the settings in the Event Viewer to automatically clear.
4. Right-click on the Application option in the Event Viewer and choose the Properties option:
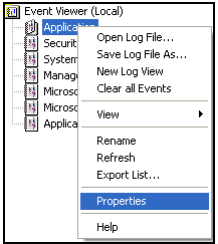
The Application Properties window:
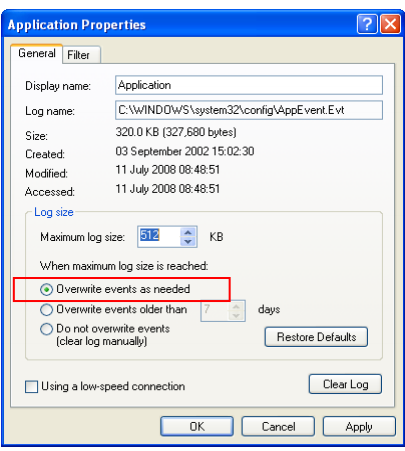
5. In the Log size section click on the Overwrite events as needed option, and then click on the Apply button. This will result in the oldest items in the log being replaced when the maximum log size is reached.